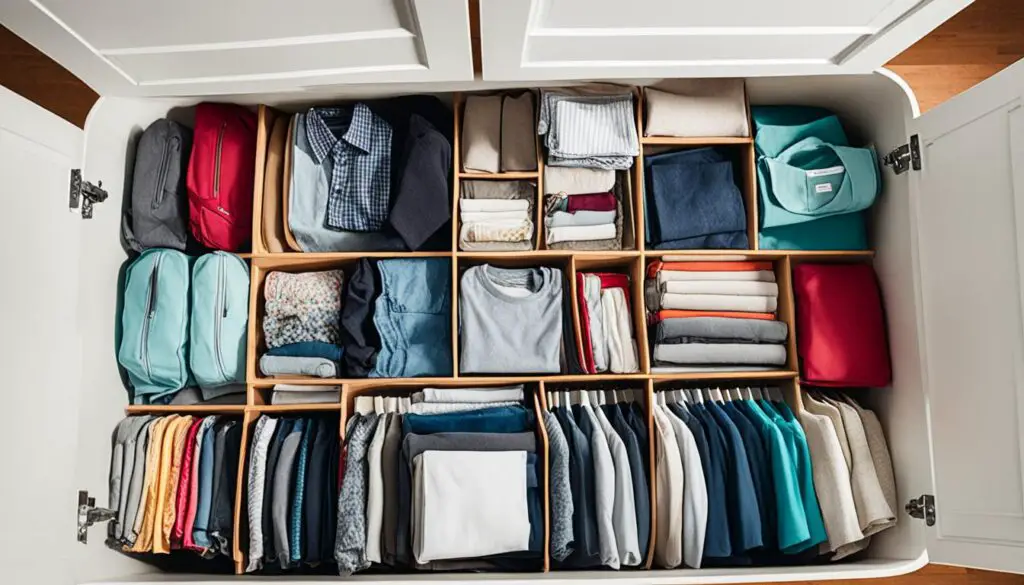
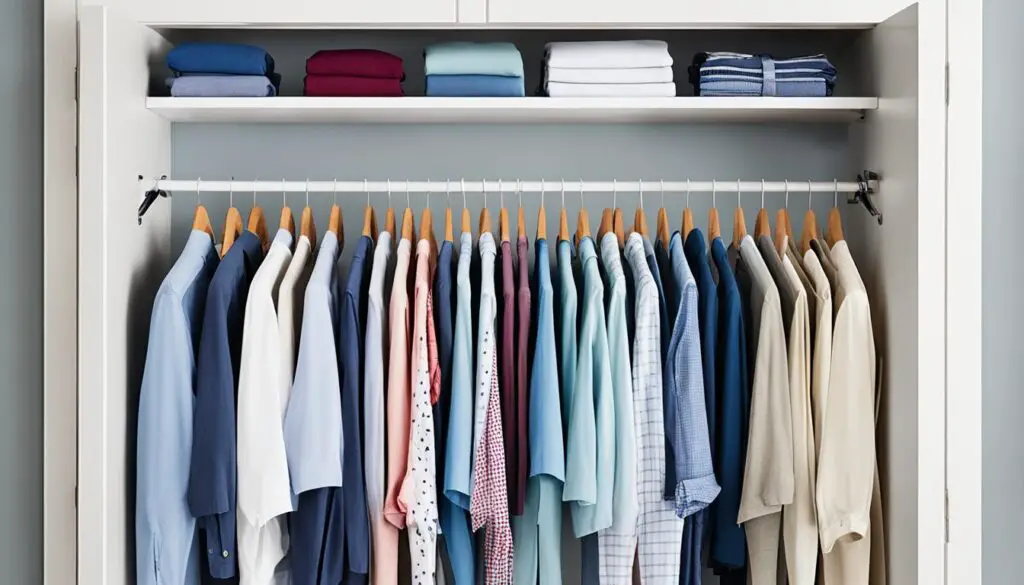
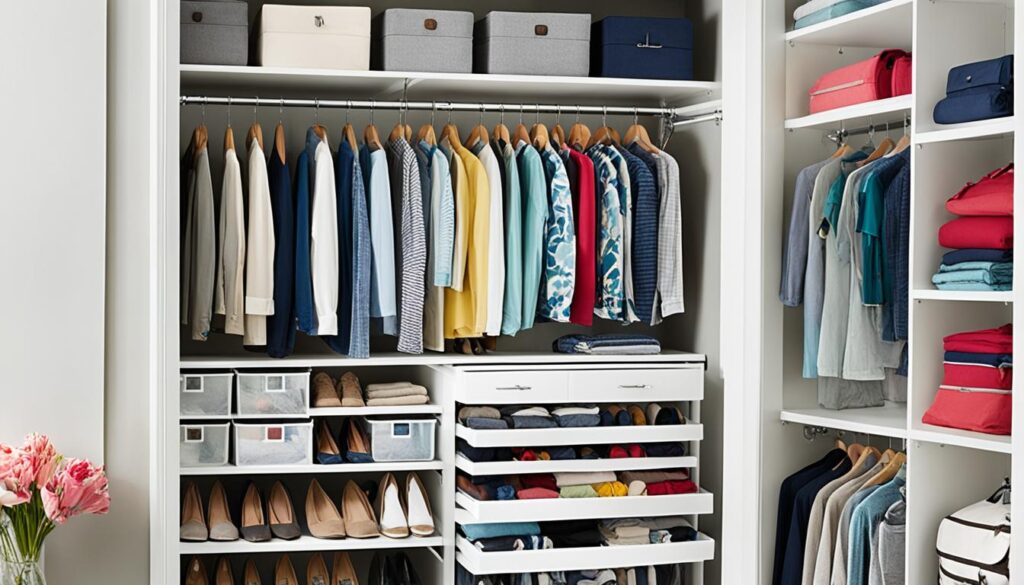
Closet rod storage is key to keeping your wardrobe organized and making the most of your space. The right products and strategies can help you keep your clothes and accessories in order. I’ll share tips on planning, designing, and creating a custom closet setup. We’ll also look at the various closet types and sizes to fit your needs.
Table of Contents
Key Takeaways:
- Utilizing closet rod storage is essential for organizing your wardrobe and maximizing space.
- Choose the right closet storage products to efficiently store and access your clothing and accessories.
- Plan, layout, and build a custom closet system to suit your specific needs.
- Understand the different types of closets and their dimensions to optimize your storage space effectively.
- By implementing these essential tips, you can transform your closet into a well-organized and functional space.
Assessing Your Closet Space
Before you start with a closet rod, you must check your closet’s space. Measuring your closet is key. Think about how much space you need and what you’ll store there.
Measuring your closet is a must-do. Use a tape measure to find the width, height, and depth. Also, look for shelves or drawers to plan around.
Now, think about how you’ll use your closet. Figure out if you’ll hang clothes, fold them, or put accessories on shelves. This step guides how you set up your closet rod and storage options.
Remember any extra storage you might need. Calculate how much room your clothes and accessories need. For a big shoe collection, you’ll need space for more shoe storage.
Evaluating your storage needs:
- Think about your hanging clothes, and what space they will need.
- Check how much folded clothes you have, like sweaters or t-shirts, and plan space for them.
- Consider your accessories and if you need drawers, shelves, or hooks for them.
Thinking through your closet, space and needs help make it work better. Now that you know your space, you can set up your closet with more certainty. This process is all about making your closet suit your storage needs.

Measuring Your Closet for Optimal Organization
Getting your closet measurements right is key for a neat space. First, measure the width, height, and depth. This helps you see how much space you have and plan how to use it best.
Be sure to mark down anything in the way, like shelves or drawers. These could change your storage layout. Knowing about them early helps you design a better system.
Remember, closet measurement is the foundation for an organized and functional space.
Take the time to measure accurately to avoid any issues during the installation process.
Think about the space you need to hang up clothes. Make sure you have enough room for things like dresses and coats. If you own a lot of long items, set aside more space for them.
It’s also smart to split your closet into sections for different items. This makes everything more accessible and keeps your space tidy. You might have areas for shirts, pants, shoes, and so on.
Here’s an example of how you can divide your closet into zones:
| Zone | Items |
|---|---|
| Tops | T-shirts, blouses, shirts |
| Pants | Jeans, trousers, leggings |
| Dresses | Dresses, skirts |
| Shoes | Sneakers, heels, boots |
| Accessories | Scarves, belts, jewelry |
By measuring and organizing your closet well, you can make the most of your storage space.

Choosing the Right Closet Rod Solution
Optimizing your closet means picking the right closet rod solution. You can either buy a pre-made system or make your own. We’ll look at the upsides of both to help you decide.
Pre-made Closet Rod System
A pre-made system makes it easy. It has everything you need, like rods and brackets. You’ll spend less time hunting down parts and more time getting your closet in order.
Installing a pre-made system is straightforward. They often come with simple instructions. This makes it doable for anyone, no matter the DIY skills. They fit many closet sizes, making setup simple.
Durability is a plus with pre-made systems. They’re usually made from robust materials like steel. This makes them strong enough to hold your clothes without damage. They often have adjustable features, so your storage can grow with you.
DIY Rod Solution
If you like customizing, a DIY rod might suit you. You get to choose how your rod looks and works, based on materials like wood or metal.
This option lets you match your closet to your style. With the right material, you can blend your closet into your decor.
A DIY rod fits just right into your closet. You can adjust its size for a perfect fit. This makes your closet more useful and organized.
But setting up a DIY rod takes more work. You’ll need materials and tools, plus the time to measure and cut the rod. It’s a bit more effort, but it can be very rewarding.
Choosing the Right Solution for You
Think about what you want: personal touch or easy setup. Consider how much work and money you’re ready to put in. Also, think about how strong and good-looking you want your solution to be.
Here’s a quick summary to help you compare pre-made systems with DIY options:
| Pre-made Closet Rod Systems | DIY Rod Solutions |
|---|---|
| Convenient and easy to install | High level of customization |
| Durable and strong | Ability to match closet aesthetic |
| Designed to fit various closet sizes | Optimal utilization of closet space |
In the end, what you choose depends on your taste, budget, and DIY skills. Regardless, a well-chosen and installed closet rod can turn your space into an organized dream.
Ensuring Stability: Installing Support Studs and Brackets
To keep your closet rod sturdy, using support studs and brackets is key. These tools help your closet’s frame stay firm. So, your clothes stay safe without any drooping or falling.
First, measure and cut support studs to fit your closet. Place them snugly between the walls. This gives your rod a strong foundation. Use the right tools to attach the studs securely to the back wall.
Next, add the brackets. They support the rod, making sure it doesn’t bend. Brackets must be placed accurately on the support studs to keep everything steady.
I cannot stress enough the importance of support studs and brackets for a stable closet rod. Proper installation will provide the necessary reinforcement and ensure your closet rod stays secure even with heavy clothing items.
By following these steps, you’ll have a reliable closet rod. It will safely hold the clothes you love. This makes organizing and accessing your wardrobe a breeze.
Example: Installing Support Studs and Brackets
Here’s a simple guide on setting up support studs and brackets for your closet rod:
- Measure your closet’s dimensions to cut the right size support studs.
- Use a saw to cut the support studs to the needed sizes.
- Place the support studs vertically in your closet’s corners.
- Attach the support studs with screws to the back wall.
- Mark the spot where you want the rod’s height to be.
- Put the brackets at these marks, making sure they’re level and straight.
- Hang the closet rod on the brackets securely.
Following these steps ensures your closet rod stays strong with your clothes’ weight.
Now, you’re equipped to install support studs and brackets. Next, we’ll look into the best closet rod options for your space and taste.
Conclusion
Using the key tips for closet rod storage helps you make the most of your closet. You will have a tidy wardrobe and more space. First, check your closet’s size and pick the right rod options. You should also make sure they are stable by adding supports like studs and brackets.
By adding great storage items, your closet will work better for you. Hang up organizers, use shoe racks, and put things in storage bins. This way, you can store lots of items without it being a mess. Sort your clothes and accessories into groups to stay organized. You’ll save time looking for things this way.
An organized wardrobe has big benefits. It means less time wasted and better care for your clothes. With the right storage and methods, your closet can be a place you love and that makes your day easier.
FAQ
Do I need to assess my closet space before installing a closet rod?
Yes, you should check your closet first. Measure the space and see how it’s arranged. Think about any shelves or drawers already there. This helps you plan a system that uses space well and fits your storage needs.
How do I measure my closet for optimal organization?
To get things in order, measure how wide, tall, and deep your closet is. Note things that might get in the way. Think about how much room clothes need when hanging.
Split your closet into sections for different clothing and items. This makes everything easier to find and use.
What are the options for choosing a closet rod solution?
You can buy a system or make one yourself. Ready-made systems are quick and easy to set up. A custom rod from DIY allows you to get creative. Think about what matters most – looks, strength, or how easy it is to put up.
How can I ensure stability for my closet rod?
For a sturdy closet rod, put in support studs and brackets. These keep the rod from bending under the weight of your clothes. Measure where they go and attach them firmly.
The brackets go on the studs at the height you want. They should be strong enough for all your clothes.
How can I maximize my closet space and achieve an organized wardrobe?
Use these tips to make the most of your closet and keep it neat. First, check your space and measure right. Then, pick the best rod option and make it strong with the right supports.
Adding storage tools helps too. This way, your closet works well and looks great.


