.jpg)
Table of Contents
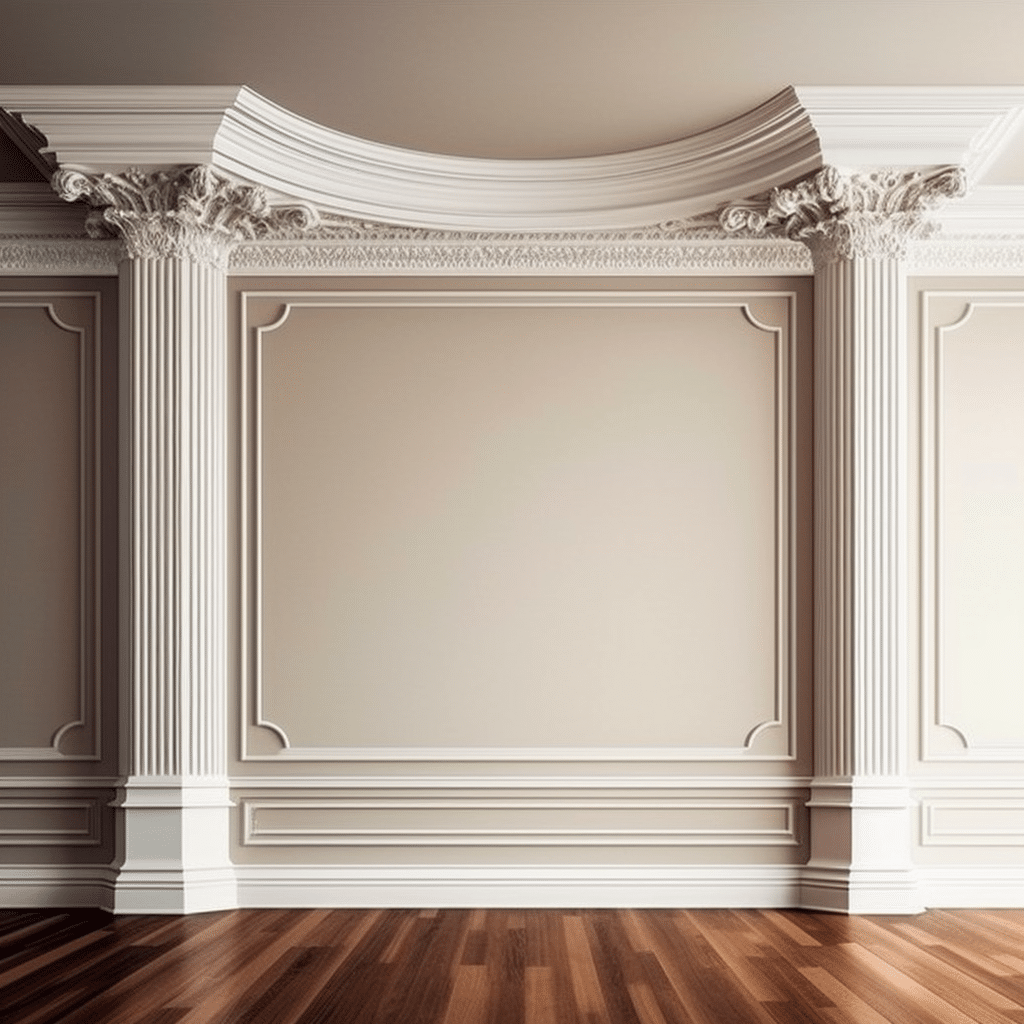
The Importance of Crown Molding
Crown molding is often overlooked, yet it’s vital for enhancing a space’s aesthetic appeal. Its installation brings a touch of sophistication and makes the different architectural elements of a room harmonize.
Interior design depends on every detail. Crown molding has the power to make a plain room special. Installing it at the walls/ceiling junction creates an illusion of higher ceilings and larger rooms, making a space luxurious.
Not only does it look good, but it’s also practical. It acts as a barrier against scuff marks, dents, and damage from furniture or everyday use. Plus, it can conceal any wiring or cables running along the room’s perimeter.
It’s been around for centuries. Ancient Greeks thought it symbolized power, while Romans used it to show wealth and grandeur. Over time, each era added its unique twist to crown molding’s design.
It’s important to pick the right material for it – strong, flexible, and able to handle a little drama.
Choosing the Right Material for Crown Molding
Choosing the right material for your crown molding is key to creating the perfect finish for your home decor. The material you select will determine the look, feel, durability, and maintenance of the molding.
When it comes to choosing the material, there are several options. Each material has its own unique characteristics and advantages. Let’s take a look at some popular options:
| Material | Description | Advantages |
|---|---|---|
| Wood | Classic, versatile, can be stained or painted | Natural beauty, easy to work with, long-lasting |
| MDF | Affordable, smooth surface for painting | Cost-effective, resists warping or cracking |
| Polyurethane Foam | Lightweight, easy to install | Water-resistant, low maintenance, durable |
| Plaster | Traditional and elegant appearance | Customizable designs, fire-resistant |
Remember, wood may be the most popular choice for crown molding, but other materials can provide their own benefits. For example, MDF is budget-friendly and provides a smooth surface for painting, while polyurethane foam is lightweight and easy to work with.
It’s important to consider your needs and preferences when deciding on the material for your crown molding. If you want durability along with customization options, plaster might be the best choice for you.
Essential Tools and Materials for Crown Molding Installation
For a perfect crown molding finish, you’ll need the right tools and materials! Here’s what you’ll need:
- A miter saw, to cut the precise angles.
- A measuring tape, to get accurate measurements.
- A level, for keeping it straight.
- Adhesive, to secure it to the wall or ceiling.
- Nails or screws, to keep it in place.
- Spackle or caulk, to fill any gaps.
For an extra touch, pick a high-quality wood that matches your desired aesthetic. And make sure to clean the surface before installation, for better adhesion.
Pro Tip: For added protection, use painter’s tape along the edges where the crown molding will go. Remember: Installing crown molding is a tricky task – don’t make any mistakes!
Tips and Tricks for a Successful Crown Molding Installation
For a perfect crown molding installation, details and correct execution are essential. Here are 3 tips:
- Measurements Count: Take the time to measure walls and angles accurately. Using a miter saw is wise.
- Choose Wisely: For best results, select high-quality wood or polyurethane moldings that fit your interior style.
- Get Ready: Before installing the molding, make sure walls are clean. Use sandpaper to smooth rough spots. Fill in holes and cracks.
For even better results, use caulk to hide gaps between the molding and wall. Patience and precision are needed – don’t rush, else mistakes may be hard to fix.
John recently decided to install crown molding in his living room. He had no prior experience in carpentry. He followed online tutorials and with much effort, he succeeded. His living room now looks beautiful with the crown moldings.
The right info and approach can help anyone achieve successful crown molding installation!
Common Mistakes to Avoid during Crown Molding Installation
Who needs a crown when you can have crown molding? Get ready to make your walls feel like royalty with this elegant and easy installation! To ensure a flawless result, it’s important to pay attention to small details. For example, make sure surfaces are clean before applying adhesive or caulk. Plus, using a high-quality miter saw with sharp blades will guarantee precise cuts and accurate angles. Also, plan out your design and layout beforehand. This will aid in avoiding costly mistakes and guarantee a smooth installation process. Avoiding common errors is key for achieving a perfect outcome. Such mistakes may include:
- Incorrect measurements.
- Poor cutting techniques.
- Inadequate preparation.
- Inconsistent spacing.
- Improper nailing.
- Lack of attention to detail.
These errors can lead to a sloppy and unprofessional appearance, which can ruin the perfect look of the project.
Enhancing the Look with Crown Molding
Text:
Crown molding is renowned for its classic charm. It can take a plain room and transform it into a stunning masterpiece. Below are three key points of crown molding that make it special:
- Visual Interest: Crown molding creates depth and makes ceilings appear higher.
- Defines Space: It separates walls from ceilings, adding definition.
- Enhances Aesthetics: Choose from various styles to complement your existing decor.
Professionals are needed to install crown molding. They possess the skill to craft intricate cuts and measurements.
Did you know crown molding has been used since ancient times? Ancient Greek and Roman architecture feature evidence of its existence (source: Britannica).
Why do people ask so many questions about it? Maybe they’re after a ‘corny’ look for their homes.
Frequently Asked Questions about Crown Molding
Crown molding is a popular decor element for interior design. Got questions? We got answers! Here are some common Qs and their corresponding As:
- Q1: What is crown molding?
A1: It’s a decorative trim along the top edge of walls and ceilings. It adds architectural detail and enhances the room’s look.
- Q2: What materials are used?
A2: Wood, polyurethane, plaster, MDF (medium-density fiberboard) – each has its own advantages.
- Q3: Do I need a professional?
A3: If you have the tools and skills, you can install it yourself. But a professional can ensure a precise and seamless result.
- Q4: How do I choose the right size and style?
A4: Size of the room, ceiling height, architectural style, and personal preference are all factors.
- Q5: What should I do to prepare the walls?
A5: Clean the walls, fill cracks with spackling paste, sand smooth.
- Q6: Any special considerations in humid areas?
A6: Choose a moisture-resistant material like PVC or polyurethane.
To ensure successful installation, remember: measure twice, cut once; use a miter saw for angled cuts; secure the molding properly. With these tips, you can achieve a beautiful and well-installed crown molding!
Conclusion and Final Thoughts
Crown molding installation is complex and rewarding. It adds elegance to any space. Pay attention to detail and measure carefully for flawless results.
Start with proper planning and preparation. Choose the right material that goes with your decor. Measure the room accurately to get the right amount of molding. Account for any corners or angles.
Get the materials needed and begin the process. Mark a level line along the wall, where the bottom edge of the crown molding will be. Use a miter saw to cut angles for a seamless look. Secure the molding with adhesive or nails. Make sure it aligns with the marked line.
Fill and finish any gaps or joints between pieces of molding. Use quality caulk that matches the color of your molding. Smooth out the caulk with a putty knife.
Pro Tip: Before starting, practice cutting angles on scrap wood. This will help ensure accuracy and precision in the final project.