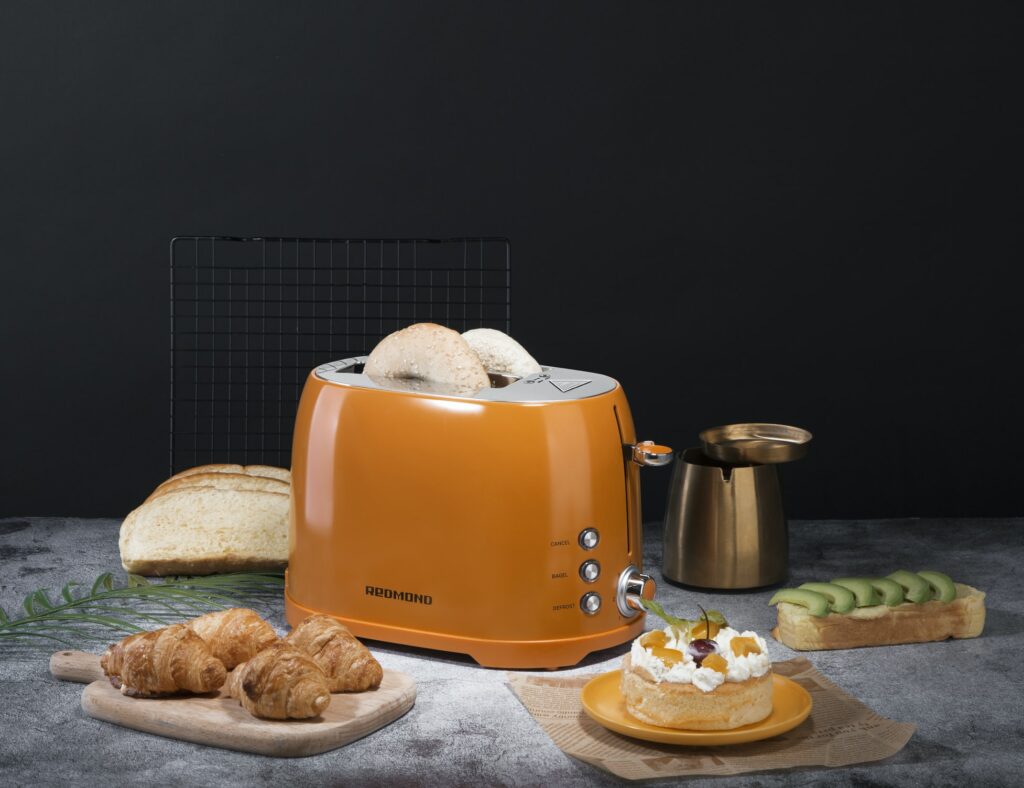
Toaster Heating Issues, Bread or toast for that matter is an American staple if not a global one. A slice of this ancient edible is a must-have for nearly every individual every day. Toast is possibly the most versatile food out there and can be had with nearly anything.
It is a breakfast favorite when taken with simple margarine and peanut butter and is also the mainstay in your favorite sandwich or burger.
Toast can be had with meats, gravies, salads, or cooked in eggs. Toasting bread is one of the most common, but most beloved ways to make bread more interesting by caramelizing it slightly to give it a slightly crispy burn and stiffening it ever so slightly to create a great crunch.
A toaster is therefore a much-utilized appliance due to the sheer amount of bread any American household consumes in a year. Different kinds of bread toast differently for different periods of time at different settings. Toasters also come in many different models.
Toaster Heating Issues goes without saying that at some point your toaster will begin to malfunction. One of the most common problems with toasters is that it starts toasting bread on only one side forcing you to turn your slice and toast the bread twice if you want a well-toasted piece of bread.
Needless to say, this is wasteful and cumbersome. Toaster Heating Issues must be attended to immediately.
Table of Contents
Why does your toaster only toast on one side?
Bagel setting
Modern toasters are sleek designs that offer more than one option and it is important to make sure you are not using the bagel setting while toasting your bread and wrongly assuming that it is malfunctioning.
Interestingly, this mistake is quite common. Bagels only need toasting on one side and your toaster may include this setting. If you do not reset your toaster accordingly you may assume it is working incorrectly when it is not.
Accumulation of crumbs
Most people are unaware that their toaster comes with a detachable crumb tray that collects breadcrumbs and instead have formed the habit of turning their toasters upside down over a sink and shaking out the stuck crumbs.
Over time this dislodges component parts of the toaster regardless of how gently it is done. Toasters are not meant to be held upside down and the jostling movement may interfere with the heating coils or the nichrome wire. Check your toaster for this crumb tray and always discard bread crumbs that way.
Additionally, stuck pieces of bread should never be dislodged using knives and forks which is what most people do inadvertently breaking the rather brittle nichrome wire to the side of the heating plate.
By simply using a soft kitchen brush or another slice of bread you can dislodge stuck pieces of bread. You can also just let them dry out and fall into the crumb tray which is possibly the best option.
The power cord has damaged wires
Within the power cord are electrical wires that are connected to specific parts of the main heating component and consequently to different sides of the heating chambers.
These wires get damaged most commonly by the practice of yanking the power cord from the socket instead of pulling it off by holding the plugging unit and pulling it out. This is a common cause of damaged heating coils since heat cannot sufficiently accumulate to toast the bread as required.
Damaged heating coils/nichrome wire
Normal wear and tear, as well as the aforementioned errors in the use of toasters, can cause heating coils which is a nichrome wire to collapse, break or function incorrectly.
How to fix a toaster that only toasts on one side
Assuming that the heating coil or the nichrome wire is where the problem, here is what you can do to remedy the situation.
- Unplug your toaster to avoid electrocuting yourself.
- Ensure your workspace is decluttered to avoid misplacing the small components such as screws.
- Depending on the model and make, find the cover plate that houses the main unit and locate screws that should be well concealed, on the posterior part of the toaster.
- Unscrew the plate and set it aside to reveal the main unit which should also immediately reveal some of the immediate problems that may be plaguing your toaster.
- After years of use dust, crumbs and microparticles have likely settled all over the interior of your toaster so these need to be gently brushed off with a soft paintbrush or blown off using a dust blower at a low setting. The brush is preferable.
- Against the heating plates, you should be able to spot characteristically thin wires running across them. These are the heating coils and should be clearly visible on every side of the heating plate or plates.
- Dust them off gently. They are an alloy of nickel and chrome and do not bend much which makes them brittle if subjected to too much force.
Fix a toaster
- This may solve the problem but it is unlikely.
- More probable is that there is one of them that is broken. If you are lucky, there may be enough of the wire to gently overlay them, and using a crimping tool, compress the wires with very precise application of pressure. Join the wires together making a reconnection of the heating coil. Some crimps have a heating option allowing you to gently expand the ends of the wire to extend them allowing for a better reconnection.
- If the breaks are multiple and the wires have flaked or are charred, the repair is not a viable option and even the procedure above would only create further danger in the future.
- Once done, carefully replace the plate and screw it back into place.
- Test your toaster which should now function normally.
Finally
It is ill-advised to attempt to fix your toaster despite how easy it appears. For the most part, toasters are not even durable once they have been repaired this way since crimped heating coils tend to have high resistance meaning the joints will eventually collapse.