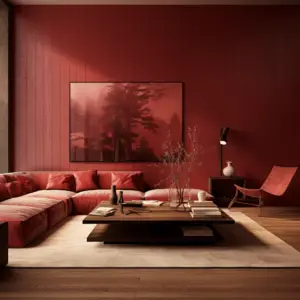
Neutralize Red Tones in Wood, Red is a warm, strong, stunning color in any setup and easily overpowers all other colors around it to capture visual attention. Choosing to use red for your decor needs is a bold decision and for the artistically gifted who know how to make red work, the end product is an absolute marvel.
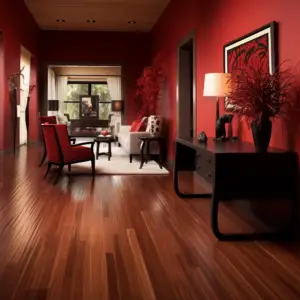
What makes red so captivating is also what makes it overwhelming. Its boldness and sheer intensity can be off-putting and often times too much visually. You may even start out loving the stark nature of red decor only to find that it is not a color you can accommodate seeing every day for hours.
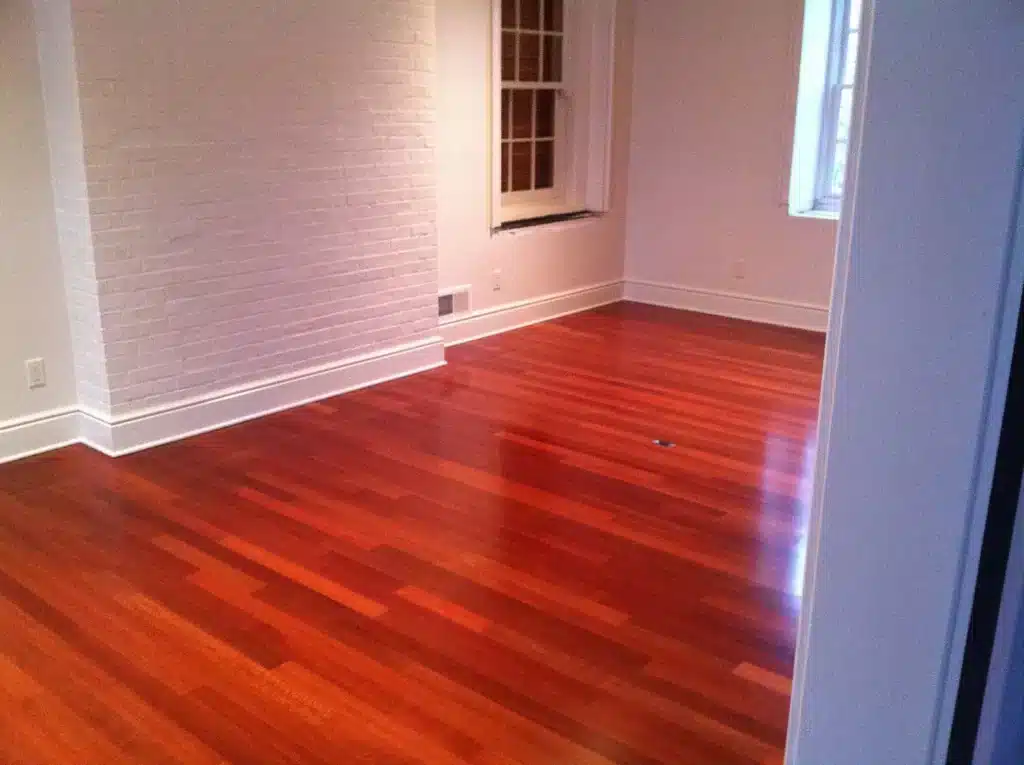
Red tones in wood furniture are a stunning sight, but for some, the opposite is the case. If your red furniture has become too much for you, it may be time to fix the problem. Before you replace them, however, there may be a few measures you can take to tone down the red sheen in your wood.
Table of Contents
How to Neutralize Red Tones in Wood
Sand and Repaint
The top layer of wood furniture or floors is what absorbs a paint with the interior of the wood plank or piece retaining its original color be it brown, or beige. This means that if you can get rid of the top layer, you will be left with a bare surface that you can refinish to your liking.
If the original color of your wood was red, then sanding will clearly not work. Sanding down wood is not difficult. What may be challenging is leveling the wood perfectly so that you are not left with an uneven surface.
Naturally occurring knots in wood may also be difficult to work and if knots are not properly sanded down, they could leave the final refinish with unsightly blemishes and scars.
Joints are particularly difficult to sand down effectively. This project is best left to a professional who will do a better job all around.
Bleaching the Wood
A highly effective solution is to bleach the wood. This is not a popular solution since so much can go wrong and wood could get damaged and weakened in the process but if done properly, bleaching can produce a perfect result.
Bleaching wood is taxing and in the case of furniture items, they need to be taken apart since the joints and crevices cannot be treated while the furniture is intact. Each piece must be individually bleached, rinsed, and dried then put back together, making sure joints are fixed back securely.
You can either make homemade bleach or buy the chemicals which you can mix and bleach your wood.
In either instance, it is unlikely you will achieve great results without any woodworking knowledge so it is better to consult a woodworking specialist to assist you.
Homemade bleach
The store-bought bleach comes with instructions that you must follow to the letter to get a perfect result. As for the homemade furniture bleach, you will need lye, hydrogen peroxide, and water.
- Take apart your furniture pieces and sand down each piece evenly. This is especially important if your furniture has a glossy finish.
- In a plastic container, put water. The amount should be based on how much wood you have to bleach.
- Add lye slowly, one spoon at a time, and stir. In a gallon of water, about three or four spoons should suffice.
- Keep the solution aside.
- Apply hydrogen peroxide to the wood coating generously and evenly. Use a foam brush to spread the liquid and ensure edges corners and curves are completely covered in hydrogen peroxide.
- Once this is done, apply the lye solution you made earlier to the wood coating the wood evenly and completely.
- Allow the pieces to dry in the sun.
- Once they have completely dried, rinse the wood with water thoroughly to get rid of lye residue.
- To achieve an even lighter color, repeat the bleaching process starting with the hydrogen peroxide application followed by the lye solution. You can repeat this up to five times to achieve a very light one if that is what you want.
- Reassemble the furniture and if you would like, varnish or stain with a color of your choice.
Stain with Green
Adding a green stain to the red wood may help neutralize bright red and turn it brown. If your wood has a gloss finish, sand it down first before staining it.
Select a green stain based on the shade of brown you intend to create. A dark green should result in a dull brown and vise versa. The shade of red will also influence the eventual brown hue that you will achieve.
Consult thoroughly, Neutralize Red Tones in Wood choose this method since the possible range of browns you could achieve will depend on nuances in the range of green paints you can use and the limiting single red you are working with.
Absorption or coverage is also another factor to consider especially if the red color in your wood is intense. Work on a small area first and see how the green color settles and what shade of brown it achieves then work from there whether to go for a darker or lighter green.
Apply Raw Umber or Sienna
Umber and sienna are natural earth pigments. Umber is a reddish-brown color while sienna is a yellowish-brown. When burnt, sienna turns reddish brown while umber becomes even darker. You will need a colorant to work with these pigments.
Colorants are substances that color another, in this example a chemical that dissolves pigments to neutralize wood. The amount and concentration of colorant depend on the shade of brown you are targeting as well as the shade of red you want to neutralize.
Use raw umber with green undertones and include some sienna for the yellow or brown tone. Mixed with colorant and applied on the red wood, it should produce a lovely earthy shade of deep brown.
This method demands a highly sophisticated understanding of woodwork and color decor and it is easy to get undesired results without it.