RedGard painting is a fantastic solution that can make waterproofing and sealing specific portions of the house much more straightforward.
Naturally, as with any sealant-type solution, people frequently wonder whether it is possible to paint over RedGard.
Fortunately, this article has the answer to this question. Continue reading to learn more.
Table of Contents
Can You Paint Over RedGard?
RedGard can be painted over. However, doing so will void the product’s warranty.
The manufacturer is sure that this product will remain watertight for the remainder of its time on your wall or floor, as evidenced by the warranty in place. But RedGard cannot guarantee that its product will continue to be a waterproof covering if the paint is applied over it.
Of course, the paint’s chemical makeup applied over the RedGard is to blame for this. RedGard is unsure of the long-term effects your choice of paint will have on their product.
Additionally, the paint you select might not be the ideal fit, and how you prepare the surface could affect how well RedGard performs.
Why Should You Paint Over RedGard?
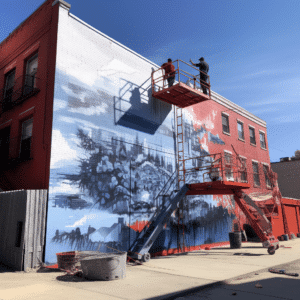
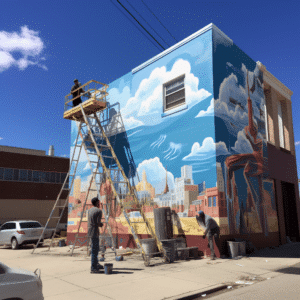
Some individuals question the necessity of covering RedGard at all. This is frequently done to improve something’s aesthetic appeal.
The RedGard is frequently used in locations with high traffic and visibility. It is a frequent concern and request to paint over these places to improve their appearance.
How to Paint Over RedGard: Step by Step
If you follow these instructions, you should have no issue painting over your RedGard.
Step 1: Ensure You are Comfortable with Voiding Your Warranty
Keep in mind that RedGard is a costly and incredibly durable product.
You pay a hefty amount to ensure that the RedGard product’s warranty remains valid.
The issue is that painting the RedGard will void the product’s warranty as soon as you do it. It becomes challenging to determine whether the painting makes sense due to this warranty void.
Whether or not to void the warranty may become simpler if your walls are in relatively poor shape. Remember that you are not eliminating the product’s waterproofing abilities.
Instead, you are only voiding RedGard’s liability if the product’s ability to repel moisture and water deteriorates.
Step 2: Prepare and Gather Materials
You will need to protect your surfaces, just like with any painting project. Hence, ensure you have the appropriate drop cloth and materials for your painting location.
You might need painter’s tape to prevent paint from dripping over the edges.
You will also require paintbrushes, a roller, a topcoat, and a primer.
The locations where RedGard is put are frequently big, open walls. Instead of just using a paintbrush, a roller will work better to cover these.
Remember that before switching between the primer and the final coat of paint, the paint brushes and rollers will need to be cleaned and rinsed.
Once your materials are ready, you can continue with the remaining stages needed before the painting starts.
Step 3: Superior Primer
Using a top-notch primer may be a crucial step in the complete process. The primer will guarantee that your paint adheres to the walls and that your RedGard maintains its quality.
Most frequently, people will sand or scuff up the surface of a project before applying a layer of paint. This is carried out to ensure that paint adheres to the wall properly.
You won’t want to damage or harm the wall’s surface when painting over RedGard, though. You won’t want to do that because it might affect the real RedGard if you do.
Instead, it would be best if you depended on the primer to guarantee that you can achieve the desired outcomes. The new paint layers will adhere better to the RedGard-coated wall with the aid of the primer, which is a glue-like substance.
The primer also has sufficient adhesive qualities, so clinging to your walls shouldn’t be a problem.
Pick a high-quality primer that can adhere to various surfaces when selecting one to go over RedGard. Be careful to choose a primer for painting concrete if you’re painting a concrete wall in a garage.
Always consider whether your painting project will be done inside or outside because this will affect the kind of paint you need to use.
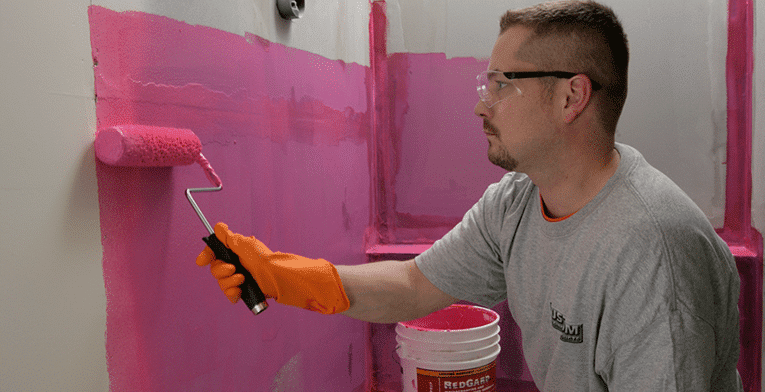
Step 4: Two Coats of Paint
You will need to add paint after your primer is installed. It is advised to paint over the priming with two coats of paint.
It’s critical to keep in mind that paint has a sealing function. Paint is a good finishing coat, waterproofing, and sealing method, though not always on its own.
RedGard-treated surfaces can be painted with two coats of paint without harming the surface.
Additionally, it’s crucial to guarantee that your paint has enough time to cure between layers.
The likelihood that the paint will endure throughout time increases with the time you give it to dry.
Step 5: Examine Paint for Long-Term Breakdown
It would help if you were all set now that you have finished this task. To ensure no problems with the paint degrading over time, you must keep an eye on things.
You might have to repaint it if it starts to break apart.
It’s wise to think about waterproofing in the long run and determine whether additional waterproofing measures are necessary.
Final Take
Now that you’ve read this article, hopefully, you feel a little more prepared to paint over the RedGard product.
Using RedGard to create a waterproof seal and prevent tile cracking is a very efficient and secure method.
The RedGard’s warranty will be voided if it is painted over, although most users report no long-term problems with its functionality.
It is frequently necessary to paint over the product to finish the appearance in a house or garage.
Always use a top-notch primer that will stick firmly to the RedGard bottom layer and the top coat of paint.