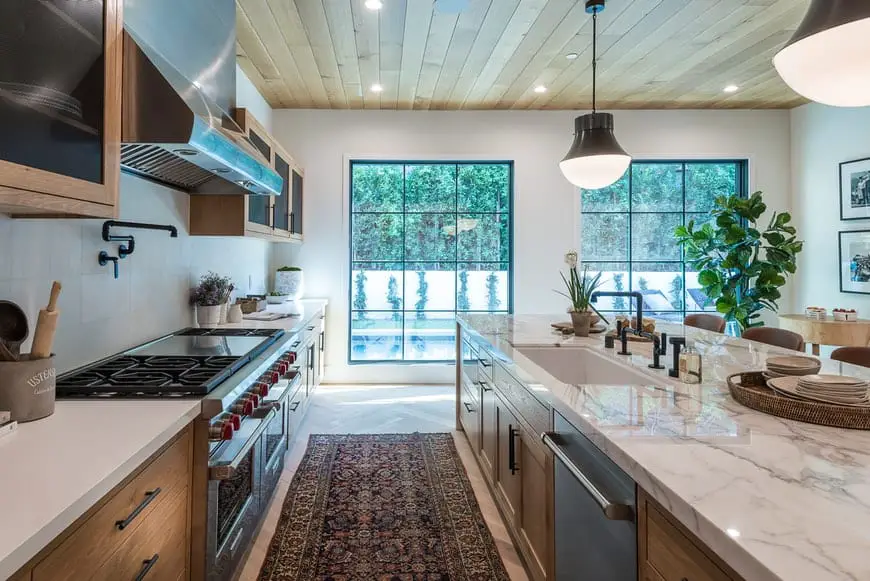
A kitchen is the heart of the home, so it is no surprise that most kitchen cabinets are also the central decorative point in the room. A kitchen cabinet serves multiple purposes, and most people also use it as a decorative piece around the room.
An attractive kitchen cabinet can make a small kitchen look larger, and a great one can turn an old kitchen into a newly renovated space.
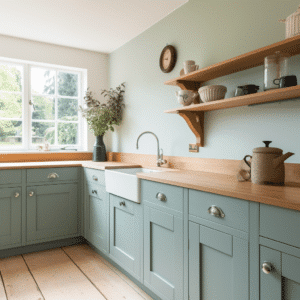
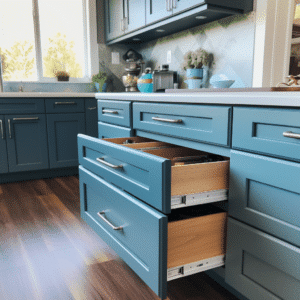
It is more common to find them made from wood or metal. Many tricks can make kitchen drawers look updated. One of these is painting the inside of the drawer.
This technique takes time and attention to detail, but in the end, it can make a kitchen look updated. Here is how to paint the inside of a kitchen drawer.
Table of Contents
Do You Paint the Inside of Kitchen Drawers? Why it is Important
For uniformity
You can create uniformity in your kitchen by painting the inside of your kitchen drawers. The result is a sophisticated and cohesive look. You need not worry about the weird look of your drawer when you open it.
Painting the kitchen drawers is trickier if the older drawer color is not available. Finding the right color is difficult but don’t be discouraged! Rather than painting everything, you could paint within two or three shades of the drawers, which would make your kitchen feel more together.
To add Contrast
Create contrast by painting the inside of drawers. Reach for the paint bucket and have a little fun with color, looking for a shade that stands out while still going with the exterior’s hue.
Kitchens with dark cabinets and contrasting floors give the kitchen a lot of personality. Painting the drawer box a bold, bright color can liven up the space, making it easier to see utensils, tools, or other cookware.
What is the Flip Side of Painting Inside Your Kitchen Drawers?
Difficult
It is challenging to paint the inside of the kitchen drawers. It is pretty tricky if you do not have expert painting skills.
Also, getting a thicker paint court in all the interior parts is challenging. You can leave the interior unpainted if the process is overwhelming.
It uses lots of paint
The drawer inside makes up the most significant part of them. Painting them would be very expensive since extra paint is needed. It also requires extra paint to solve the problem of paint chips.
Time-consuming
Painting the exterior of the drawer is faster. However, you need to spare a few hours to clean the drawers and get paint to all corners for the interior. If you do not have the time, avoid committing yourself to interior drawer painting.
Paint chips
When the paint inside the drawer dries up, it can crack. Parts of it may chip and fall onto kitchen essentials. These chips can be challenging to remove from the supplies. You also need time to clean or wipe your cutlery when paint chips fall on them.
To prevent the nuisance of chipped paint, you need to add a sealant. This adds more expenses and more drying time before you can use your drawers again.
How to Paint Your Drawers
- Assemble the tools: To paint the kitchen drawers, you cannot neglect the role of tools and equipment. The advanced devices will be necessary to ensure efficiency and result in top-notch quality. Sandpaper, brushes, and putty knives are a few of the required materials to make sure you have. Besides those, water, paint, and primer will be necessary.
- Remove the hardware on drawers: Remove knobs and pulls, as well as latches on drawers. This will keep the hardware safe from spills and the stains that often come with painting. Double-check for labels for each part to have an easier time assembling them later.
- Clean the drawers: Ensuring the drawer is clean before doing anything else is always a brilliant idea. Clean out any dust, grime, or dirt that might have accumulated in the drawer. Use TSP and clean water in cleaning these drawers. While at it, use a wet towel or piece of fabric.
- Check and repair dents: Check the drawers for any holes or dents. The first step should be to cover any dents, preferably with wood filler or identical material. After that, ensure that you level it accordingly.
An alternative option is to fill the indents with putty. Just apply it well, and it will reward you with better results in the long run. As a precaution, once the putty dries, sand the filled areas and use a primer coat. Sanding offers not only adhesiveness but also exceptional finishes. Be careful, though, not to overdo it.
- Use primer: Using a primer is necessary to ensure that you spend less time and effort sanding or de-glazing old paint, so you can have your project done sooner. Using primer also ensures that your finish coat will bond much better, so you’ll have a durable finish in the long run.
It is usually an excellent idea to use a quick-drying primer so that it does not take up a lot of time. Look for this characteristic on the label, or else you will end up choosing a product that doesn’t work.
- Paint the drawer: Finally, you can paint inside your drawer. Paint all corners, along the back, sides, and top and bottom. Let everything dry before reassembling the drawers, and use a sealant to lock in the paint.
What Paint to Use on Your Kitchen Drawers
Drawers that are used in the kitchen need to be painted with hard-set paint. Consider using latex paints for the kitchen drawers. It is easy to work with and clean with water.
It has a hard, durable finish that can withstand scratching, denting, daily wear, and chips. They are also user-friendly.
Also, when looking for a modern finish for your old kitchen cabinets or a creative way to turn your kitchen drawers into a striking art piece, water-based acrylic paint is the best for the job.
Avoid Oil-based polyurethane paints since it emits a pungent smell.
Painting kitchen drawers is one of the most exemplary projects you can consider, despite having its drawbacks.
The benefits of painting drawers are that it gives a nice and clean look to your kitchen. Another great thing about painting your kitchen drawers is that it’s a cheap and easy project to do, which means you don’t have to spend thousands of dollars to make your kitchen look better.
You can do this yourself with very little or no experience at all!