Chemicals prevent decomposition, rotting, and insect infestation in pressure-treated wood.
The lumber is soaked in copper arsenate (CA) or chromate copper arsenate. Working with dangerous liquids demands vigilance. The chemicals prevent rotting and deterioration, making it ideal for year-round outdoor work like decks and fences.
Table of Contents
Can You Paint Pressure Treated Wood?

Pressure-treated wood is a popular choice for decks, fences, and other outdoor projects. But, can you paint pressure-treated wood? The answer is yes, but it’s not like painting regular lumber. You need to consider the type of paint you use and how well it adheres to pressure-treated wood before you get started.
Also, you should know that painting pressure-treated wood successfully demands a bit of patience. Read along to learn how to go about it the right way.
How to Paint Pressure-Treated Wood
Most people think that they can just slap any old paint on their deck or fence and be done with it, but this is not the case. Pressure-treated wood is different from normal wood and some types of paint may not adhere properly and come off after a couple of years.
Avoid using oil-based paint on pressure-treated wood because the oil content in these paints will soak into the wood and eventually cause it to split or crack when exposed to sunlight or weather conditions such as rain or snow exposure. Latex paint performs much better than oil-based paints because it dries quickly and won’t soak into the wood surface as oil-based paints do.
We’ll walk you through the steps of how to paint pressure-treated wood so that you can get started on your next project.
Step#1: Prep the Wood
Before you paint the wood, you need to prep it. If the pressure-treated wood is new, sand it down to remove all the splinters and sharp edges. If it’s older, wash it with a solution of mild detergent mixed with water.
Be sure to follow all safety precautions when sanding or washing your pressure-treated wood.
Step#2: Let it Dry
When painting over pressure-treated wood, be sure that there are no wet spots on the surface of your own project before applying any new coats of paint or stain. The chemicals used to treat the wood and water used in its cleaning can both cause delays of several weeks or even months.
For projects that need to be completed quickly, you may want to consider using pressure-treated wood labeled as having been kiln-dried after treatment (KDAT). The drying time for KDAT wood is much shorter than that of other options.
Step#3: Apply Primer
You should only start painting once you’ve confirmed that the wood is completely dry. Primer acts as an adhesive between your top coat of paint and the substrate material underneath it. Make sure the primer is approved for outdoor surfaces and pressure-treated wood before applying it.
Use an even coat sprayer (paint sprayer) to prime your project’s whole surface, including recesses and corners, per manufacturer’s recommendations. Without a paint sprayer, use a roller for big flat surfaces and a brush for trim boards and fascia boards. Allow the primer to dry before proceeding with the next step!
Step#4: Apply Paint or Stain
After the primer has had lots of time to dry, it’s time to start painting or staining. If you want a professional-looking finish, use high-quality exterior paint. Make sure that you follow all the manufacturer’s instructions and recommendations for application.
We recommend applying at least two coats of paint if you choose to adopt this approach.
It is best not to use oil-based paints on wood treated with preservatives because latex adheres much better. While it may take a bit more time to dry than a single coat— the extra protection from UV rays and moisture is well worth it.
How Much Time Do You Need to Allow Between Staining and Painting?
The amount of time between staining and painting depends entirely on what type of stain or paint you are using and how long it took for that material to dry completely.
The best way to ensure proper adhesion is by allowing each coat sufficient time to cure properly before applying another layer over it.
If there are any signs of moisture on the surface of the wood, wait until they are gone before applying paint.
Is Paintable Pressure Treated Wood Available?
Yes! Many homeowners opt for paintable pressure-treated lumber when building their decks or fences because it allows them to spend less time on their projects. However, not all pressure-treated woods are available in the paintable form. You can get it from home depot, but it is more expensive than regular pressure-treated wood.
If you are going to paint pressure-treated wood, you’ll need to be patient. It takes time for the paint to thoroughly dry and cure. You may need to wait up to 3 months or more, depending on your climate and how long you have had it on your property.
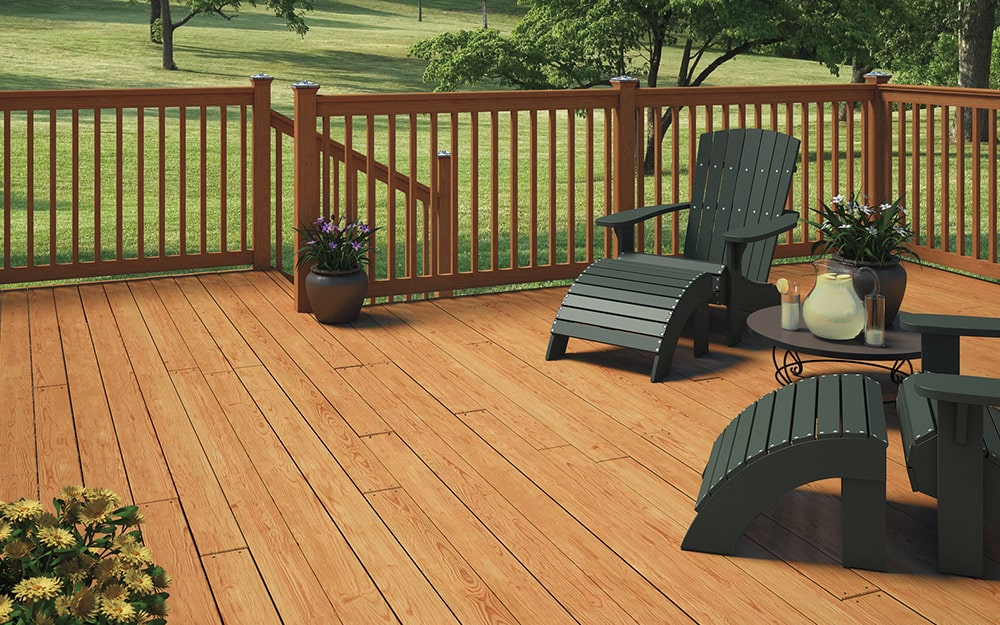
The best thing about painting pressure-treated wood is that it adds a nice new look to your deck. It also makes it much easier to clean and maintain.
Conclusion (Can You Paint Pressure Treated Wood?)
The short answer is yes, you can paint pressure-treated wood. The long answer is that you’ll need to be patient. And you’ll need the right products.
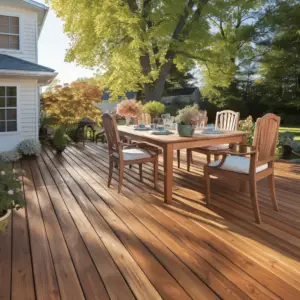
Though applying paint to alter old wood may seem odd, it is possible to get a professional finish. You just need to pick the correct paint—pressure-treated lumber has numerous commercial colors—and your patio or garden will look warm and elegant. It’ll be personal preference. However, choose a durable exterior paint product when choosing colors and finishes.