If you’re a diehard DIYer, the thought of having to rely on the propane company to run a line from your tank to your house can be daunting. But don’t worry, it’s not as complicated as it may seem. With a little time and effort, you can have the job done in no time.
However, note that this procedure or the materials can be hazardous in terms of safety, especially without adequate knowledge. That means you shouldn’t attempt to do this on your own if you’re a newbie or learner in the field. This article is all about the appropriate method of installation and the things you need to consider while installing the propane gas line.
Table of Contents
Installing Propane Gas Line From Tank To House

The Correct Piping for the Project
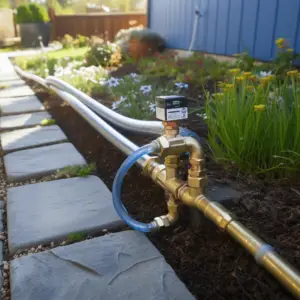
You must make sure you’re using the correct piping or horses for safe and reliable use of propane. Keep in mind that while rigid black steel piping has been a popular choice for years, CSST (Corrugated Stainless Steel Tubing) pipes are generally favored and preferred by experts.
This is mainly because CSST pipes are full pipes that can easily be pulled into the housing and quickly mounted. In addition to being a high-strength system that can be installed into the house with ease, it comes with fittings that you can assemble rather fast for leak-free seals.
You just need to check that it’s bonded per the manufacturer’s guidelines to prevent your house from potential lightning strikes. The bonding basically involves connecting ground wire directly to any CSST nut or the grind propane gas piping just before the CSST tubing.
Take into account that code requirements vary from locality to locality. You might want to check your local building code in case you’re unsure about certain types of tubing.
Get the Right Size of the Propane Gas Line
Another important aspect of pipe selection is to make sure you choose the right gas line size based on the intended application. In simple words, the piping should be large enough. That means the size you’re about to pick should be able to deliver sufficient propane to connected appliances, so they can serve efficiently even when run simultaneously.
You can determine the pipe size by referring to the sizing tables provided in the standard gas codes. For instance, if a house or property has a 10 psi regulator at the property, a half-inch steel pipe could supply 1, 017,000 BTUs per hour. However, if a 3/8-inch pipe is used instead, that same property’s heating system would only deliver 386,000 BTUs.
Once you’ve met all the criteria necessary for the task, the next thing is to know how you can install the propane line from tank to house. Note that you will need some tools for the job: a pipe nipple, a trumpet tool, and a giant enough drill through the wall. For a simple test thereinafter, you will require a brush, a vessel, water, and soap.
Now check the following tips on how you can run propane lines from tank to house all by yourself.
Steps For Installing Propane Gas Line From Tank To House
Start By Measuring Out All the Piping
You will need to take the measurement of all the necessary pipes and cut threads and spate pieces as needed. To avoid possible leaks, consider applying pipe dope or such approved sealant before proceeding. This will help to keep threads sealed.
Drill a Hole through the Wall
The next step is to make a hole in your wall. Simply attach a drill bit with a suitable length to a drill and make a big-enough hole all the way through the wall. Then clean the hole after you’ve dug it out to make sure no debris could damage the pipe.
Attach the Piping to The Tank
The next thing is to fix the first end of the piping to the propane tank. In most cases, you will need to screw the right fittings on the end of the pipe to the opening on top of the propane tank.
In other words, you will need to secure the tube to the tank opening, which might involve the use of a screwdriver. Then secure the interaction between the tank and the pipe by screwing on the coupling.
Lay the Piping
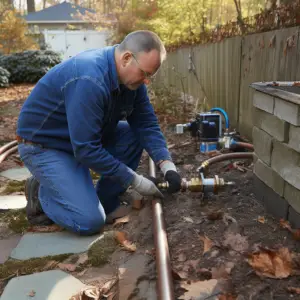
Once you’re done attaching the piping to the tank, proceed and lay the line from the propane tank’s location through the previously drilled hole in the wall and into the house.
Again, remember to secure or rather bury the pipes where necessary. It’s common to realize that you need to adjust the pipe when it needs to be lowered. So, keep that in mind when shifting the pipe through the hole.
Connect the Piping to Appliances
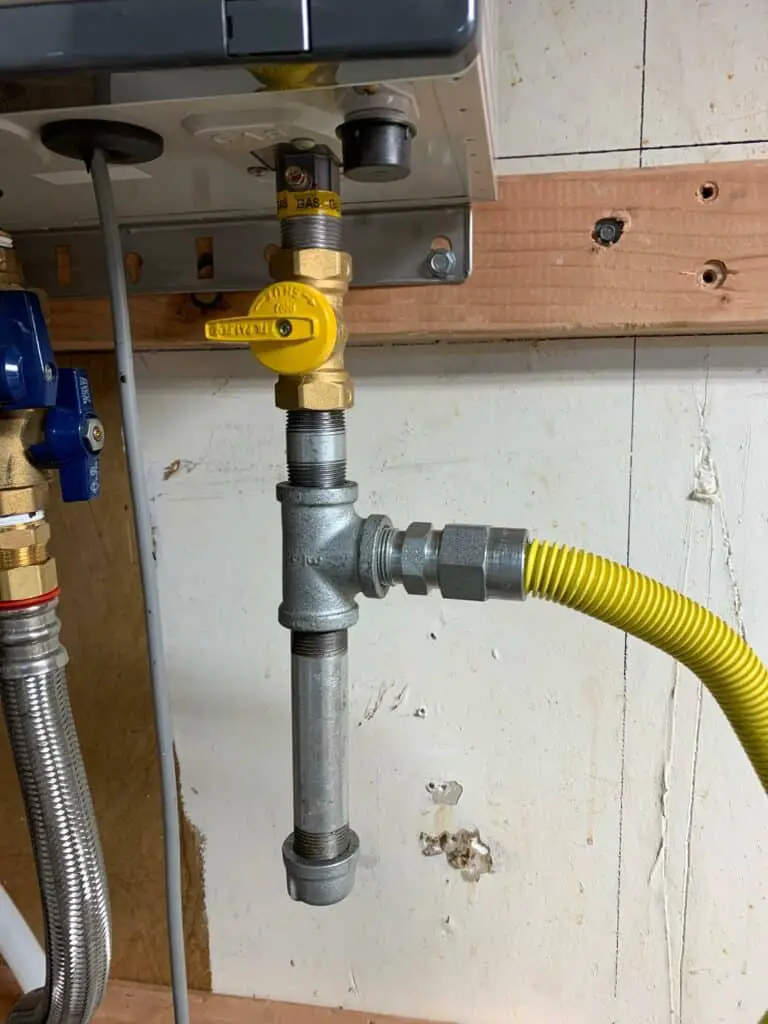
This is where you’re going to attach the piping to the intended propane-powered appliance. It’s good to mention that there’re no definite rules dictating how you should do this. For instance, you can choose to connect the pipe to your appliance using a threaded fixture or fitting and Teflon tape.
Seal the Wall Opening
You can fill the pipe’s entry point to your home by spraying expanding foam insulation. After that, inspect the connection between the propane tank and the unit as the last step. You may want to conduct a test with some soap and water as hinted before.
So to do this, get a container and mix soap and water, ensuring that there’re equal amounts of both ingredients. Then dip the brush in the soapy water and scrub away.
The Cost of Installing Propane Gas Line from Tank to House

On average, homeowners who are looking to install a residential propane tank should expect to spend around $2,750. While those at the high end can pay as much as $8,150 for this project, some homeowners have reported having to spend as little as $275 for installation services.
The Bottom Line
We hope all the steps discussed in this post are helpful enough for a satisfactory installation. Be sure to follow the necessary guidelines as well as the steps provided above to avoid any mishap during the process.


