Uneven Drywall Seams is referred to by many names such as sheet-rock, gypsum panels, custard boards, gypsum boards, etc. Drywall is sheeting made of gypsum installed at the interior side of ceilings and walls.
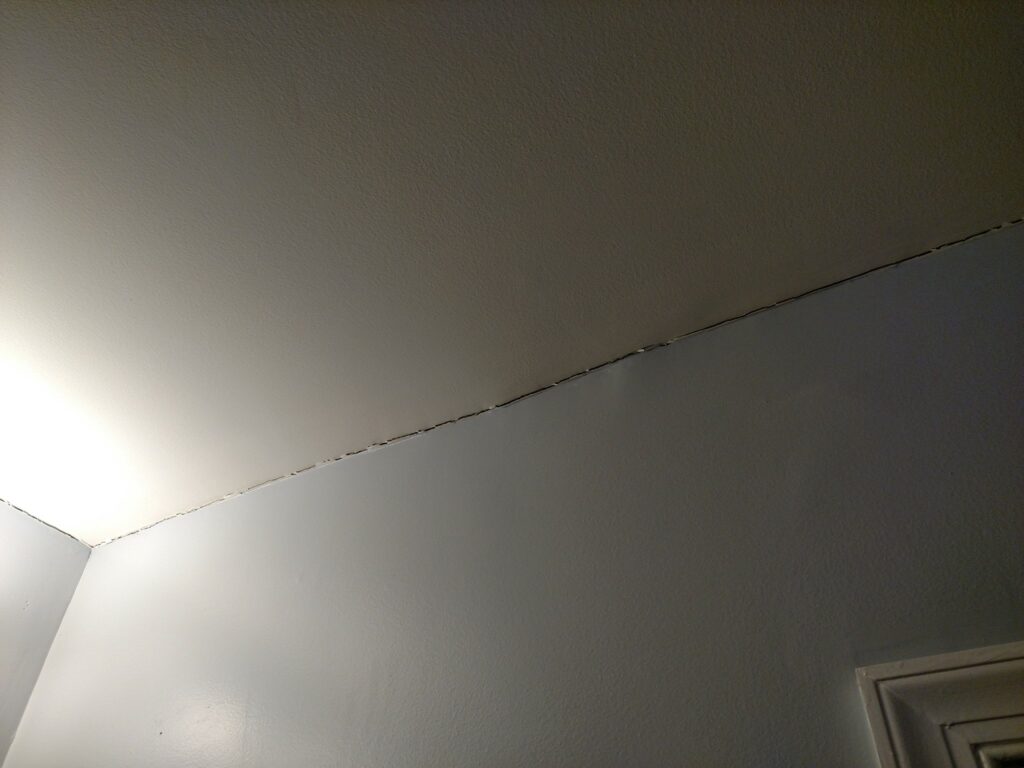
Bulging drywall seams are common issues that you will have to face. Each drywall consists of a unique set of characteristics, including uneven set seams. In such scenarios, drywall seams are not flush, raising the need to find a solution as quickly as possible.
This guide will offer a comprehensive write-down of what to do if the drywall seams are not flush. Read on
Table of Contents
Troubleshooting Drywall Seams Not Flush

Drywall seams, also known as “drywall joints,” are created when you place two pieces of drywall next to each other while attaching them with drywall tape and compound. When installing the drywall, they may not lay even, requiring some fixing.
If you’re dealing with an uneven set of joists, shims are a pretty accurate, quicker, and easier solution. Follow the steps below:
Use Of Cardboard Shims
Buy the Cardboard Shims
Shims are available in various types, but cardboard shims are best for DIY projects and will give the best results when modifying the size. However, you can look at other work options for the drywall seam.
After getting the appropriate cardboard shim at hand, work on the number of pieces you will need for the project as you take all the necessary measurements ensuring they’re accurate to fix the uneven drywall seam efficiently.
Cut To Resize the Shims
Begin to personalize the cardboard shims by cutting them down to size. Cut them even and clean with the correct drywall seams measurements and how long the shims have to be.
The work may be time-consuming, but the goal of nicely trimming the shim is to settle them into place with the drywall seams.
Set Into Place
The next step is to set the cardboard shims into place to make an even look by pushing it while ensuring it doesn’t move. Still, you will have to secure it using a regular screw or two. The screw should not go all the way through as this can destroy the foundation.
Secure the Shim
For cardboard shim, it requires you to use suitable screws to flush the dry seam. Despite the multiple layers, you don’t need a long screw like 2″; instead, go for a screw relatively near to 11/2″ as it offers good value.
It is mandatory that the screw is even against the surface and secures the cardboard shim.
What Other Alternatives Can You Repair Uneven Drywall Seams?
Fortunately, there are different ways to fix uneven drywall seams despite being a glaring error. With a light touch and attention to detail, you can conceal the rough seam yet blend the repair area with the surrounding wall.
Use of “Mud”
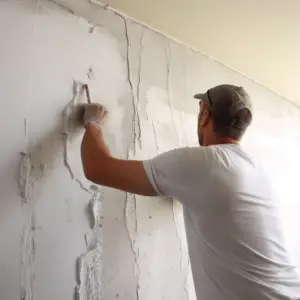
Mud is used to conceal drywall seams because of its consistency. Fill the drywall pan with compound mud; scoop a mound of it using a taping knife. Ensure the stack is near the center and edge of the taping knife’s blade.
Starting with the most significant part of the seam’s gap, fill the compound by pressing the knife and mound of mud onto the seam, then draw the blade across the seam’s length.
Fill the deepest portion of the gap with the first coat; don’t apply a broad compound layer on the first coat, then allow it to dry.
Step 2
Determine areas where the seam dips by holding a straightedge over the uneven drywall seam and gauge the unevenness in various spots across the wall. Use a new compound, and scoop a portion on the knife’s edge.
For the second coat, position the mound of the compound across the breadth of the knife’s edge.
Step 3
Scoop the excess compound from the wall by pressing the knife against the wall. Spread a broad layer across the seam length, favoring the side that dips and depositing the excess mud into the pan.
To remove the compound from the knife’s edge, scrape its blade on the pan’s side. Run the knife across the seam to spread and smooth the wet mixture.
Smooth each side of the fresh layer as you taper the edges to match the new compound and the existing wall, then allow the second coat to dry.
Step 4
Smoothen the edges of the repair areas and blend their transition with the old wall. Use a damp drywall sanding sponge and press it gently along the repair’s boundaries as you rotate it in circular motions to flatten any peak on the seam to ensure it blends with the surrounding compound.
Quick ways to Hide Drywall Seams
- Use paper tape
- Wallpaper
- Use a primer
- Sand the seam
- Use drywall tape
- Apply a skim coat of setting compound
- Hang up wall décor
- Use dark or matte paint
- Color washing technique
What Causes Bulging Drywall Seams

Improper Installation
For seams between the drywall panels to disappear after painting, cover the joints with the compound in a particular way- in multiple layers, with each layer more comprehensive than the last. In addition, each layer should dry and, in some cases, sand before applying the next one.
This process is cumbersome and demands merchants to make repetitive visits to the work site often. Therefore, it is not unusual for the contractor to use fewer layers than required leaving the seams insufficiently feathered to the surrounding surfaces.
Simple DIY may make common mistakes without noticing the errors leading to the drywall not being flush.
Uncut Sheet Edges
When drywall sheets with uncut edges are butted together, they form a depression along the joining line, accommodating the joint compound and the drywall tape.
Sometimes, installers opt to use cut drywall whose edges aren’t tapered instead of pairing the sheets. Consequently, applying the joist compound and the drywall tape over the drywall surface leads to unevenness.
Use of Mesh Tape
Mesh tape tends to stretch more than over time, making the drywall seams noticeable; paper tape is preferable because it is more robust.
House Settling
With time, your house starts to settle, shifting the house unevenly, forming cracks and drywall seams more visible.
Drywall seams that are not flush can be managed in various ways. Some solutions can be time-consuming and tedious, while others are simpler. However, if you want a quick yet reliable fix, cardboard shim is for you. With that said, you’re at liberty to pick the one that suits your expectations.


