Troubleshooting, When an O-Cedar spray mop breaks down or becomes faulty, it can be a rather frustrating situation, leaving you with a leaky bucket or a wet mess to clean up. Look, it is not like you can just replace the spray bottle or the cleaning fluid or pick a different brand.
This spray mop is a single unit so you can’t just get a replacement. You are stuck with the unit you have unless you want to buy a new one. Fortunately, there’s a simple solution, so let’s troubleshoot.
Table of Contents
O-Cedar Spray Mop Leaking: How to Troubleshoot
Check the White Cap
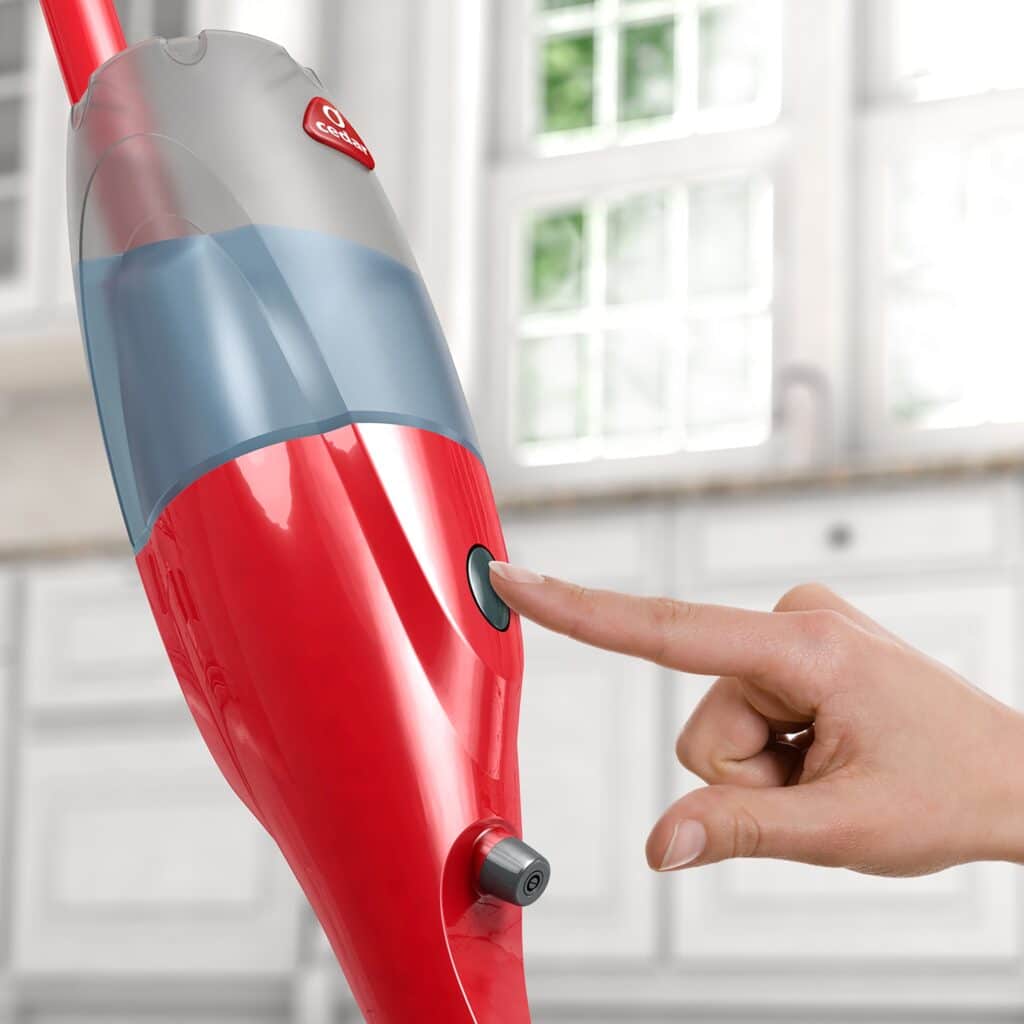
Start by locating the white cap, and make sure that it’s on the bottle securely before you fill the basin with water. Tighten the cap in the clockwise direction to ensure the internal seals create the much-needed pressure to prevent leaks.
After that, remove the grey cap and fill the bottle with 26 oz of water. O-Cedar Spray mops generally feature a line to make this easy. O-cedar cleaning solution is delivered as a concentrate, rather than diluted, in order to reduce environmental impact. Replace the grey cap and put in the concentrate. Then tighten until you hear a pop sound and see the solution start to release.
Look for Air Bubbling Up
When you’re sliding the bottle into the mop base, be sure to look for air bubbling up. This will help to confirm that the bottle has been properly inserted. It’s important to note that when you’re pushing the bottle straight down into the mop base, you don’t really have to turn or screw the bottle into place. Troubleshooting can actually cause the white cap to come loose, and this is one of the most common causes of leaks.
Instead, push the bottle straight down and listen for a popping sound. You should see a burst of rising bubbles, similar to what you see in a New Year’s glass of champagne. This is a clear indication that the mop is good to go. To further check your mop, set it in a sink, bathtub, or shower overnight. If it’s still leaking, you might have to contact the dealer to help make it right.
How to Fix a Faulty Spray Bottle
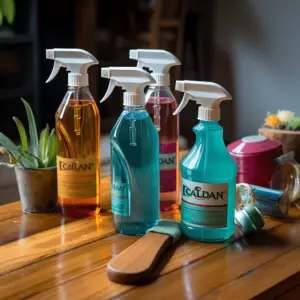
Most household cleaning products are delivered in spray bottles, mainly because the bottles are more efficient than a regular mop and easier to use as you don’t have to wring out excess water.
However, there are times when some spray bottles break down, leaving you with a wet mess to take care of. Moreover, the bottles are often designed in a way that makes it rather hard to access the last bit of the concentrate.
Not to mention that the nozzle can clog and the spray mechanism itself can simply stop functioning. But like the O-Cedar spray mop, many of these issues can be resolved so you don’t have to spend your money on a new bottle of the product. In fact, you can reserve the empty for future requirements.
So, Why Do Spray Bottles Stop Working?
First, it’s important to note that a pump spray bottle operates using a spring-loaded plastic piston, which is activated by either a trigger or a vertical pump mechanism. Pressing the trigger or pump forces the fluid in the piston chamber out through the nozzle.
The piston is designed to retract automatically after each spray, which creates a vacuum in the chamber that pulls more fluid from the bottle through the tube.Troubleshooting your sprayer isn’t working, it could be because the nozzle is blocked, the piston seal is damaged or the inner tube isn’t immersed in the fluid.
Unblock the Nozzle
If your spray bottle’s nozzle is clogged or it contains oil, hairspray, or such things that can harden, then you’ll need to have it cleaned. To do this, start by unscrewing the nozzle cap by turning it counterclockwise a quarter turn.
If this doesn’t work, remove the cap and hold it under hot, running water or immerse it in vinegar. Use a pin to poke a hole in any blockage in the nozzle itself. If your bottle contains hairspray, soak the nozzle in alcohol. Troubleshooting the blockage is severe, you may have to remove/unscrew the entire sprayer from the bottle and soak it in alcohol or vinegar.
Lengthen the Tube
The plastic tube that connects to the sprayer is typically designed to the bottom of the bottle. However, sometimes it curls up, such that the end protrudes from the liquid in the bottle when the level is low.
This is a problem that you can easily fix with a one-foot length of 1/8-inch plastic tubing that you can get from any hardware store. Cut the existing tube in a way that only an inch is still attached to the sprayer.
Then, take the 1/8-inch tubing and push it over the end of the existing tube. To keep it in place, attach 1/8-inch metal nuts to the other end of the tubing. The added weight will keep the tube immersed in the liquid, even when you turn the bottle over or tip it on its side.
Troubleshoot and Fix Other Issues
When you pump the piston and it doesn’t retract, this is usually because of a broken or missing spring. However, sometimes the spring can pop out of the position and cause the problem. Check to see if you can access the spring and whether it needs to be replaced.
You might be able to find a replacement at your local store. Troubleshooting the spring is not accessible, or the piston seals have failed, you will need to replace the sprayer. In case the seals have failed, and the trigger works but delivers very little fluid, you can possibly fix the issue by improving the spraying vegetable.
Conclusion
In summary, all you need to fix a leaking O-Cedar spray mop is to first pull the bottle straight out of the mop base, without twisting or turning troubleshooting. Then locate the small white cap and screw it on to make sure it’s tight and properly secured.
Remove the grey cap and refill the bottle, then add the solution if it’s empty and screw the grey cap back on (note that you might have to replace the grey cap to effectively resolve the issue). After that, push the bottle straight back into the base without turning or twisting it and watch for the burst of bubbles. Leave it in the shower, sink, or tub, and inspect for more leakage.