Bathroom Tile Leak Repair, The bathroom is the wettest place in the house for obvious reasons and often enough this heavy presence of water, soap, and other products used in this area must be managed optimally.
Water and precipitation poorly managed can cause problems that will eventually destroy the bathroom if left unattended.
Leaks are a common occurrence in any area where water is piped for daily domestic, industrial, or commercial use and a leak in your bathroom should not surprise you in the least.
As engineering and construction technology get better, such leaks are fewer, and even when they happen, they are fairly easy to fix.
Most leaks in your bathroom can be fixed using basic DIY know-how. Unless the leaks persist or are severe following neglect, there may be no need to call a professional.
Table of Contents
Bathroom Tile Leak Repair

Leaking in the bathroom can occur from any place but what is certain is that if it is not fixed a small leak will initiate a cascade of problems that will be harder and more expensive to deal with later on. These include:
- Stuffy and damp atmosphere
- Black mold
- Stained tiles
- Peeling paint
- Property value depreciation
Living with leaks exposes you and your family to:
- Allergies
- Infestation by pests that thrive in moist places
- Respiratory problems
- Possible skin conditions could develop
- Water-related accidents like slips and falls
- Poor hygiene
You have much incentive to fix any leak in the bathroom or lobby.
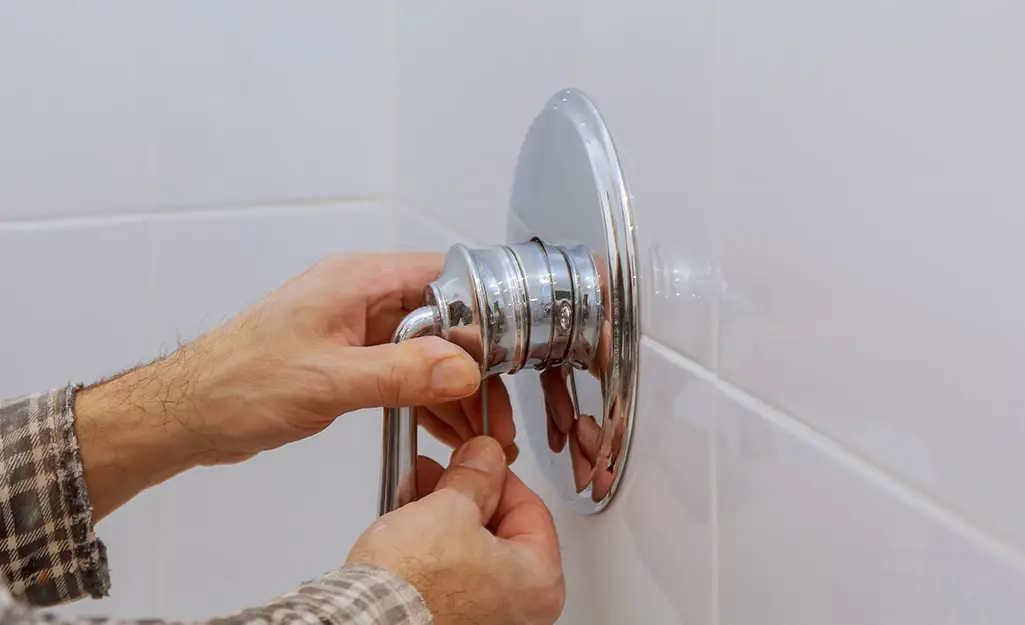
How to fix a leaking shower without removing tiles
When you spot a discoloring surface tile in your bathroom, it is easy to assume a leaking pipe is the culprit but in many cases, the pipes are fine especially if they are made of plastic tubing.
The problem is coming from above the tiles in your shower and not from beneath.
This means that the seams of the tiles have given way and any time you take a shower the water drains into cracks and crevices between tiles instead of depositing completely via the drain.
The seams of your tiles are supposed to be fully water-proof and even the slightest perforation will seep water sufficiently enough to render your bathroom unusable within months. This type of leakage is actually the most common today.
Tiles are sealed together using grout and topped off with a silicone seal.
This forms a water-tight seal between tiles but it is prone to cracking and wear over time.
Bathroom Tile Leak Repair notice discoloration in the seams of tiles, you are looking at broken grout or a leak that has already developed.
You will not need to remove the tiles since the seal is made above the tiles and can be repaired the same way. The solution is to regrout the tiles.
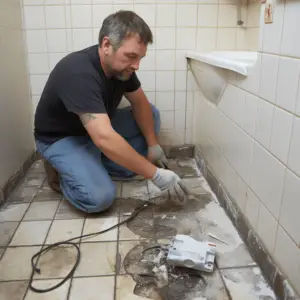
How to Regrout Tiles
You will need the following tools:
- Safety goggles
- Flathead screwdriver or a tough dull blade
- Rotary tool
- Hand brush
- Dustpan
- Vacuum cleaner
- Pre-mixed grout
- Grout spreader
- Grout shaper
- Gloves
- Sponge
- Masking tape
- Silicone
Procedure
- Wear safety goggles and gloves.
- Using the rotary tool, break away the grout on the affected areas as well as the surrounding areas that seem unaffected since they are sure to be in the early stages of damage as well.
- Keep the rotary tool away from the edges of the tile.
- Using the dull blade or the screwdriver, knock away the loosened grout and let the chunks fall off.
- Be as precise as possible and repeat the above to get all of the old grout off.
- Using a hand brush, free all the grout and grout dust from the seams thoroughly.
- Use a vacuum cleaner to remove all of the fine dust as well.
- Give the exposed seams a few days of drying out for the moisture that had already penetrated through the tiles to dry out and for the mold that may have developed to die.
- If you have any cracked tiles, replace them since they are also an avenue for precipitation to seep through in the future.
- After a few days of drying and airing, you can now apply the new grout.
- Wear safety gloves and goggles.
- Scoop a generous amount of grout using the grout spreader and spread it into the seam of the tiles. Pass the grout severally to ensure the seam is tightly filled with grout.
- Do this for a few seams and once the grout starts to harden slightly it will appear expanded as though it is too much for the seam.
- Use the grout shaper at this point to shape the slightly hardened grout.
Grout shaper
- Do not wait too long before shaping the grout using the shaper since you do not want it to dry out.
- One smooth pass of the shaper is enough to give the seam a finished professional look. If the grout feels like it is hollow then spread more grout onto the seam and wait for it to harden slightly.
- Pass the shaper once more filling in the seam with grout completely.
- Do this for every seam as you wipe the excess grout stuck on the tiles using a wet or damp sponge.
- Once you have regrouted every seam, leave the grout to dry completely. To be on the safe side, let the regrouted tiles sit for a few days with the windows open throughout.
- Once you are certain it is dry, wash the bathroom with warm water and a mop to wash away any debris.
- Let the bathroom dry completely.
- Apply the masking tape on the edges of the tiles leaving only the grout exposed. The masking tape will prevent you from spilling the silicone onto the surface of the tile.
- Apply the silicone onto the grouted joint and use your finger to squash it flat and neat.
- It dries very fast.
- Apply a second layer of silicone and wet your finger using a silicone wipe. Run your finger again along the second layer in one smooth pass and let the silicone set and dry completely.
- Wash the bathroom and apply two waterproofing coats.
- These are applied using a roller just like painting. They should keep the tiles from ever leaking again for over a decade.