Shop Vac maintenance, Your Shop Vac is the workhorse of your home improvement projects. It can help in sucking up everything from sawdust to spilled liquids. However, this valuable item requires emptying from time to time. So, how do you empty a Shop Vac?
This article will walk you through the process of emptying a Shop Vac. It will also discuss the procedure of how to clean a Shop Vac.
Table of Contents
How to Empty Shop Vac

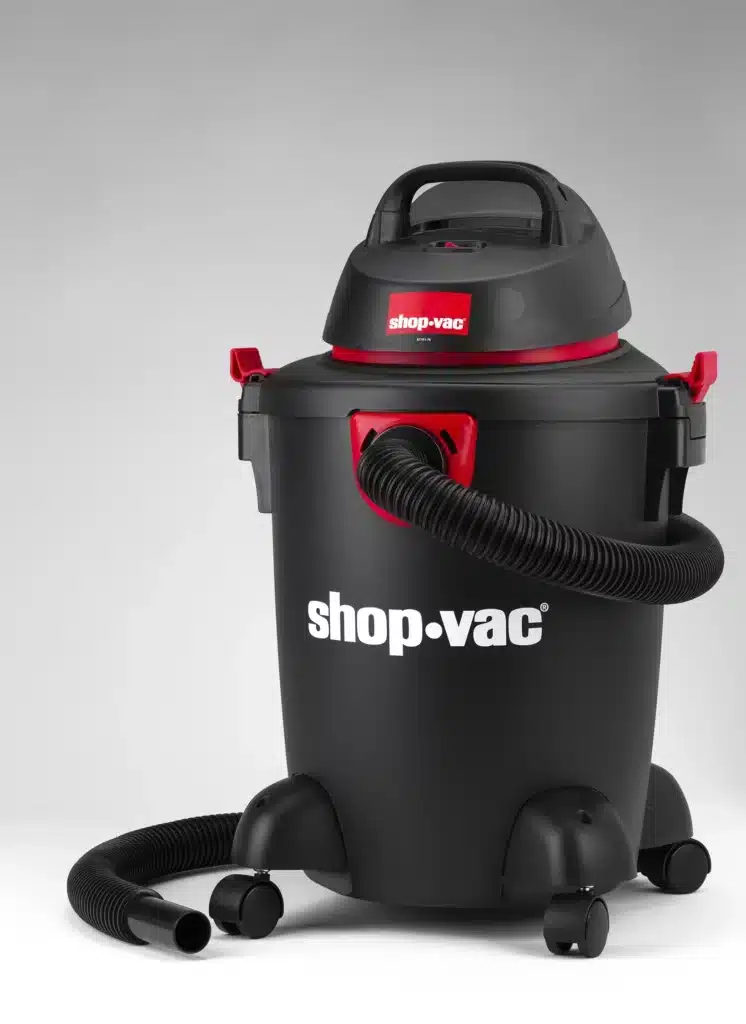
No matter the model, draining a Shop Vac is a straightforward operation because they are made to be. When the tank is filled, unplug the device and take it to where the liquid will be disposed of. Depending on the kind of Shop Vac, there are three different ways to drain the tank. No special equipment is necessary. However, you might need to use some caution with older devices.
Step 1:
Find the Shop Vac’s drain. On most models, you will find the drain on the side of the Shop Vac’s body, just above the wheelbase. The Shop Vac drain could be a plug that you pull out or unscrew (if that is the case, move on to Step 2) or a drain cock with a lever that you rotate to drain the water (if that is the case, go to Step 3). Some vintage models don’t drain at all (if that is the case with yours, go to Step 5).
Step 2:
Place the Shop Vac’s drain spout over the container in which the liquid will drain and remove the plug. Plug the drain hole again after the water stops flowing.
Step 3:
Attach a drain hose to the drain spout by pressing it onto the end (these models typically come with a drain hose). Make sure the hose’s opposite end is placed where you want the liquid to drain. A garden hose can be used instead of a drain hose if you don’t have one.
Step 4:
Flip the drain cock lever up while securely holding the hose onto the drain spout. Flip the lever back down to seal the drain when the water has drained.
Step 5:
Take off the Shop Vac’s top. To get the liquid to stream out of the top, carefully tilt the Shop Vac. Replace the Shop Vac’s cover after emptying the liquid, but ensure it is well sealed before continuing your job.
How To Clean a Shop Vac
The Shop Vac’s primary function is to keep your workspace clean, but it can also become dirty. Don’t neglect shop vac maintenance; a clean air intake and filter help keep your vacuum operating correctly.
Clean the Filter
Regular cleaning of the filter is essential since the air filter in your Shop Vac handles a lot of demanding work and can rapidly become clogged. Before cleaning the Shop Vac filter and other components, putting on a mask is a good idea because the particles can quickly fly into the air.
Shake the extra dirt from the filter into a garbage container to start. Since the dirt will fly into the air, it is best to do this outside.
You might need to dive into the filter’s pleats to eliminate all the debris. Cleaning the dirt from the pleats using a plastic putty knife is a gentle approach to accomplish this without harming the filter.
Once you’ve removed the larger chunks from the filter, use your air compressor particles. Turn the pressure dial of the compressor to about 40 PSI to gently blow out the smaller pieces.
The filter can also be cleaned with soapy water. A grease-fighting dish detergent is a smart choice if you’ve used the vacuum on fatty or oily goods. After letting it soak for a few minutes, thoroughly rinse the soap by swishing it in the water.
Before putting the Shop Vac back together and using it again, allow the filter to dry thoroughly. Replace the filter with a new one if it cannot be cleaned or is damaged.
Wash the Outside
Depending on the working environment, the exterior of the shop vac can become very dirty. It can be easily cleaned by brushing, wiping, or vacuuming the outside debris.
The accumulation of small particles in the wheels can also cause the casters to become dirty. Clean them off or blow the debris away. You can maintain them running smoothly by keeping them clean. If the casters aren’t rolling smoothly, you can also grease them.
Examine the Hose
Larger chunks that are sucked up, such as debris from drywall repair, may become lodged in the hose and block it. If you have this problem, you should identify it immediately because the suction will probably lessen.
To find a clog, you can typically feel the flexible hose. If there is a clogg in the pipe, detach it and shake out the clog, or use your hands to push it toward the end. Alternatively, you can move the obstruction to the nearest end of the hose by inserting a wooden dowel or a broom handle into the hose.
Work on the Accessories
Cleaning the accessories ensures they will be ready the next time you use the Shop Vac.
Dust and debris should be removed from any accessories. Hard plastic items should also be washed in soapy water and thoroughly rinsed off. Clean out any debris or fibers entangled in the bristles if you have a brush attachment. If an accessory breaks or the brush attachment starts to lose many of its bristles, replacements are usually available.
Reasons Why a Vacuum Can Become Really Loud
Vacuuming can become more bothersome when the vacuuming machine starts making a deafening noise. The loud vacuum noise can be due to several problems, most of which can be fixed. Some of the reasons for a loud vacuum include:
- Dirty filter
- Clog
- Broken fan
- Broken brush bearing
Final Take
A Shop Vac is a valuable item in any home. However, if it requires frequent emptying. We hope this article helped guide you on how to empty your Shop Vac. If you are also looking forward to cleaning your Shop Vac, the cleaning tips discussed in this article will be helpful.