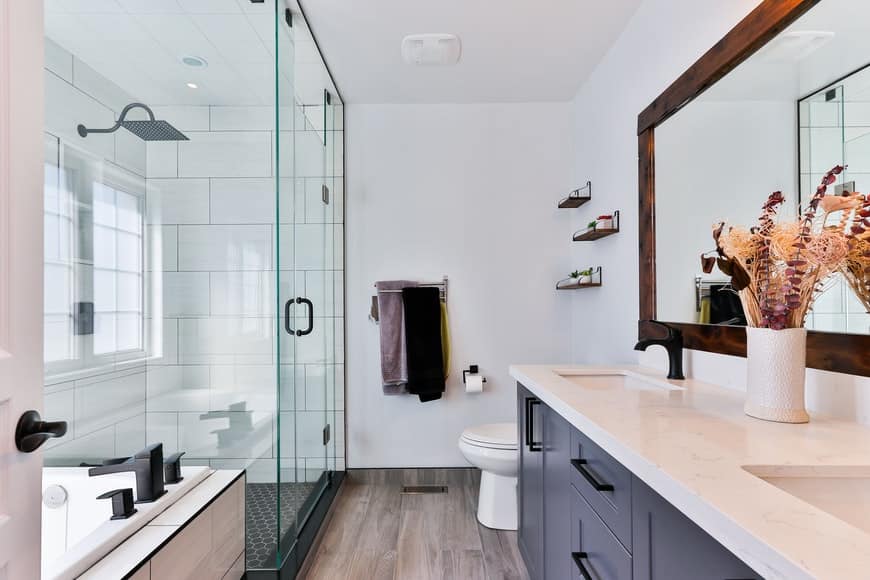
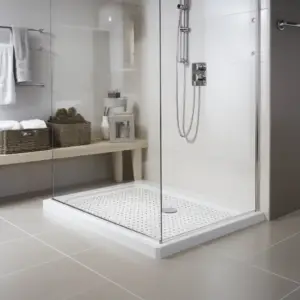
Fixing Low Spots in Shower Floors, Low spots in the shower floor are a common but frustrating problem. Look, you recently built a house; an overall good experience but had major issues with the master shower, where you have water standing on one specific area. The whole floor dries out except for that one specific spot.
Well, fret not because while this can turn into a serious issue- if not dealt with in a timely manner- there are a few methods you can count on to try to resolve it.
Table of Contents
How To Fix Low Spots In Shower Floor: Important Steps

Here are a few steps you can take to fix the problem of a low spot on your shower floor.
Fill the Spot with a Cement Floor Lever
Not all floors are equal. Thus, while fixing low spots in shower floors, you must decide if the issue is minor or serious enough to warrant re-flooring the entire bathroom.
Once you know the shower is the problem, fill the area with a cement floor leveler and seal it with something watertight. Grinding the surrounding surface may also rectify the slope.
Chisel out the Surrounding Tile
If only a few tiles have lippage, carefully remove them from the low spot. Remove as much thinset compound as possible from the area. After removing the grout, a hammer and chisel might shatter the tile. Avoid damaging nearby tiles by using a small, rust-resistant chisel or grinder. Remove the faulty tile and mortar below it to lay the replacement tile flat.
To ensure the new tile sits equally with the others, level it with mortar. Reset tiles and bedding compound. Again, make sure they slope toward the drain. Due to its stickiness and convenience of use, people may be tempted to utilize mastic, often known as universal ceramic tile glue. Mastic isn’t recommended for high-moisture locations since it retains mold. Constant moisture re-liquefies it.
Grind Them
This method is typically recommended when the floor cannot be removed. If you have an uneven marble shower floor, then it means that the color/pattern on the surface goes straight through the bottom. In that case, if you were to grind down the top, it would not affect the color of the stone.
You can ground down with a floor or angle grinder fitted with a 50-grit disc, followed by a 100-grit and lastly 400-grit disc. If the marble is finished, you may want to have this augmented with a polishing pad to buff up the surface again.
Replace the Floor and Substrate
If the shower floor is tiled, sometimes replacing the entire shower base can be the best option. This is especially the case when the tiles are extremely uneven and affect the majority of the tile job. Having a professional would be ideal in this situation.
If hiring a professional isn’t actually an option, there are a few steps you can follow and try to fix the issue;
Start by removing all tiles and wet bed underneath. Wet beds are mostly used to re-level uneven ground, and even though they’re typically made of a material that’s similar to concrete, it’s not as strong because it doesn’t contain gravel.
Check whether a waterproof membrane was used. If so, remove it as well and retile the entire area. Seal the new tiles with grout and a quality waterproof sealant. Then perform a water test- this is where you fill the shower with water and plug the drain. If the water remains for up to three days, then it means you’re free from leaks and can safely add tile.
Installing a Shower Floor Substrate
There are various methods of installing a shower floor substrate, with the easiest one being using a precast mold. Other methods often involve using a backer board. In the event that the backer board was not laid in a layer of motor and screwed down properly, it’s likely to move over time.
Stone tiles such as marble are heavy, and if air gets into the mortar below them, they can sink as the mortar cures, which can eventually create uneven floor tiles. Once you’ve removed the old tiles, apply the new mortar in one, consistent direction to help eliminate air pockets.
To prevent marble voids, apply a second layer of mortar to the tile backs. After placing tiles, level them before continuing ahead.
Adding a Layer of Flooring
Fixing Low Spots in Shower Floors want to angle the slope in your shower without having to rip out the entire base, you can simply add another layer of material. However, this is only an option in specific cases. It depends on the type of constituents employed on the original floor. If it’s safe, angle the new layer of flooring towards the drain.
The Bottom Line
If you’ve realized that a low spot in your shower is accumulating water and creating drainage problems, assessing the situation is imperative. In the event that there’s excess grout build-up or mold, a simple fix may be having to replace the whole shower base.
In some cases, retiling the shower pan, adding cement, or fixing the specific ceramic tiles using a chisel can be a viable solution. Remember you can always hire a professional if you’re unsure of whether you can complete the task. It will most certainly save you money in the long run.