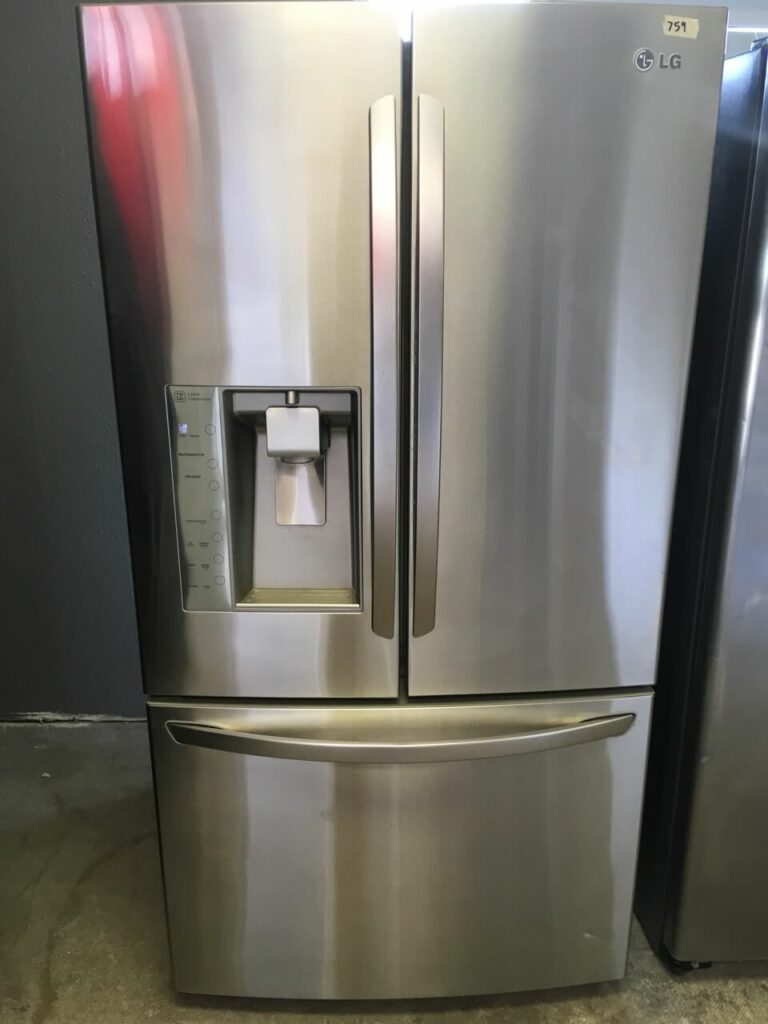
LG Stainless Steel Refrigerator Dent Removal are fortunate enough to have a stainless steel kitchen installed in your home, you know how lovely they are and how much you want them to seem brand new.
However, damage to appliances like stoves and refrigerators is unavoidable despite your best efforts. The expense and difficulty of dent repair are not necessarily high, and you may be able to do it yourself.
This article will walk you through the various ways you can have the dents on your LG stainless steel refrigerator removed.
Table of Contents
Removing Dents From an LG Stainless Steel Refrigerator (Ways)
The ideal methods for dent elimination are discussed below:
Push the Dent Out
You might be able to press the dent back from the opposite side once you’re behind it. On the majority of devices, this is regrettably not possible.
Using Heat and Cold To Remove The Dents
- Blow Hot Air: Grab your hair dryer or a heat gun if you have one. Directly blow hot air onto the dent. Give it at least one minute of heat. The metal needs to be heated up extremely. The metal will expand as a result of this action. The metal will then contract as it cools, and it might pop back into place smoothly.
- Use Dry Ice: Dry ice is freezing, as you are undoubtedly aware. Due to the extreme cold, you might get the metal to contract and remove the dent. All you have to do is hold the ice against the dent. However, you might want to wrap it in a soft cloth to prevent scratches on your refrigerator. Keep the ice there until the metal is cold, which should take about a minute. Don’t forget to put on safety gloves. Your fingertips will burn on dry ice, just like on a hot stove.
- Blow Cold Condensed Air: Pick up the air can you use to blow the keys off your keyboard from the table adjacent to your computer. Ignore the instructions that state you shouldn’t flip it over. Blow air at the dent with the can turned upside-down to release a cool condensate. Fire a few nice shots at it. The temperature is low enough that the dent might contract and self-fix.
- That condensed air shouldn’t contact your skin, so ensure you put your hands back.
Utilize Suctioning Tools
Start by cleaning the area around the dent
Some dent kits will include a cleaning solution. But typically, it’s just isopropyl alcohol. To get rid of any filth, rub it into the region. For this approach, the adhesive will be used; therefore, the glue must adhere. Grime and finishes will make the glue easily pull off.
Purchase a dent remover for cars
These can be purchased online, at big-box retailers, or in car parts shops. The dent removers come with suction cups that you are supposed to glue onto the dent on your refrigerator using a hot glue gun.
Attach the suction cup from a vehicle dent remover to the area with the dent
Heat the hot glue gun. Select a suction cup that is a little larger than the dent. Place the cup on the dent after adding a small amount of glue to it.
Place the bar on top
A screw will protrude from the back of the suction cup. A bar goes over it and features two plates on each side. Add the knob that screws into the suction cup’s back after the bar is set. Lightly screw it into place. Don’t apply too much pressure while doing this because not everything is in its proper place yet.
Set the plates near the tiny cup
The two plates on most of these instruments may be adjusted so you can pull with more leverage. Put the plates as close as you can to the middle suction cup. That will prevent it from excessively pulling the metal on the outer edges.
Screw the central knob
Now that everything is in place, all that’s left is to continue screwing in the central knob. The suction cup will gradually be pulled out by this process, which applies pressure to it. The entire piece will eventually pop off.
Repeat the process as necessary
This approach will eventually make the dent smaller. Unfortunately, it takes time to complete. Get a chair and ensure that you are comfortable. To make the ding less noticeable, you might need to repeat the procedure up to ten times.
Use a Toilet Plunger
Sometimes plan suction alone will remove the dent from your refrigerator. A toilet plunger is a simple suction device. Place the plunger over the dent, and then try pulling it out. If you are lucky, this might help fix the dent in your refrigerator.
How Much Will It Cost To Have A Refrigerator Dent Fixed?
You might want to think about hiring someone to mend the dent in your refrigerator if fixing it sounds like a chore you don’t want to do. You might be asking how much it will cost to repair the refrigerator dent in light of this.
The precise pricing may vary depending on the company, but the size and depth of the dent will typically dictate how much it will cost to fix.
- Tiny Dents
Any dent less than a foot wide and doesn’t harm any vital components is considered a minor dent. The hinges and ice dispenser are among these essential components.
LG Stainless Steel Refrigerator Dent Removal dents are simple to mend and sometimes don’t cost much to fix. Depending on size and position, a minor dent may cost between 80 to 150 dollars to fix. A dent that is difficult to access may cost more to fix.
- Massive Dents
A huge dent is more than a foot wide or involves the ice dispenser or door hinges. This kind of ding will cost more to mend because more effort will be required to correct it.
A major dent will cost between $150 and $250 to repair. The repair cost may increase by $50 if the hinges need to be fixed. The cost of replacing the ice dispenser panel may be an extra $250.
Final Take
We hope the above approaches will help you remove the dents on your LG stainless steel refrigerator. If you can not do the job yourself, you can also seek some professional help. The cost of removing the dents will mainly depend on the dent size.