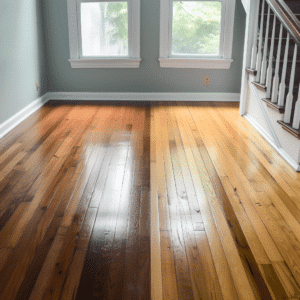
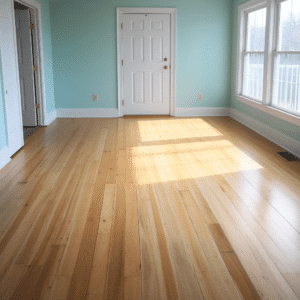
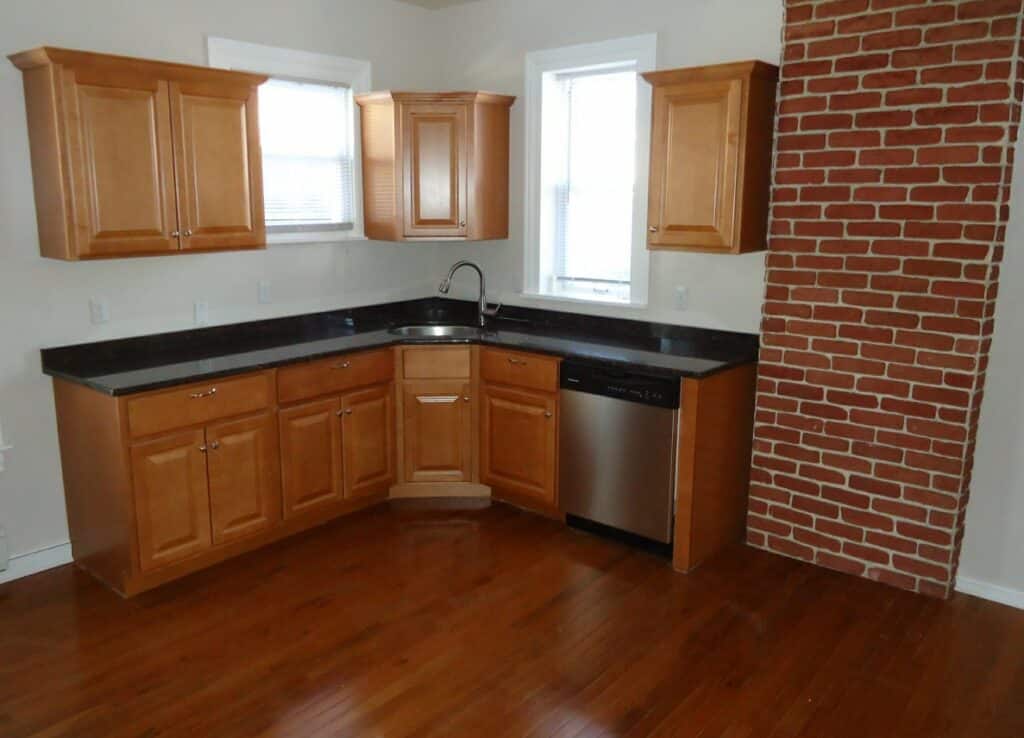
Want to change the color of your hardwood floors? You can do it without sanding them by stripping off the finish with brass wool or fine steel wool. It doesn’t take as long as sanding and is less messy, but it does require some elbow grease. Once you’ve stripped the finish from your wood floor, clean up any residue and let it dry completely before applying a new coat of finish.
When you’re ready to change the color of your hardwood floors, it’s best to do it gradually — especially if there are pets or children in the house. Although most stains are non-toxic and safe for pets and children, some can cause allergic reactions if they get on your skin or in your eyes.
If you want to change your hardwood floors but long for a way to avoid hours of painful and backbreaking sanding, this article is for you. We’ll take you through the steps of how to change the color of hardwood floors without sanding.
Table of Contents
How to Change The Color of Hardwood Floors Without Sanding

If you have hardwood floors that are looking a little dull, it’s time to give them a new shine. Follow the steps below:
Clean Your Floor
You’ll need: A vacuum cleaner and attachments to clean the floor
The first step in changing the color of your hardwood floors is cleaning them thoroughly. Vacuum your hardwood floors. This will remove all of the loose dirt and debris. Make sure you use an attachment that will get into all of the nooks and crannies of your hardwood flooring.
If you have areas that are especially dirty, use a scrub brush to help loosen dirt in those areas. Wipe up any excess soap with rags or paper towels and let dry for a while before continuing with the next step.
Strip the Existing Finish
You’ll need: Brass wool or fine steel wool
Step 1: First, remove any leftover loose dirt from your floor by sweeping or vacuuming. Then wipe down your floor with a damp rag and let it dry completely before starting work.
Step 2: Strip off whatever varnish or polyurethane is left on your floors using brass wool or fine steel wool (available at home improvement stores). Work in sections about 3 feet square at one time and rub until no more finish comes off. You may find that areas with heavy traffic don’t need much rubbing to remove all traces of finish; other spots may require some more work.
Stripping is necessary because the wood needs to be clean and dry before you can apply any paint or finish. If you don’t strip the finish, then paint, or varnish will not adhere to it properly, and you’ll end up with a mess on your hands. The more time you spend stripping, the better. If you can afford it, hire someone to do it for you. Otherwise, buy some good-quality brass wool and start scrubbing!
Clean Up After Stripping
Once you’ve stripped the finish from your wood floor, clean up any leftover bits with a tack cloth or just by sweeping or vacuuming with a broom that has been dampened with water (so it won’t raise dust). Then let it dry for at least 10 hours before moving on to the next step!
If there are any spots or stains on your floor that weren’t removed during stripping, you can use mineral spirits to help remove them before applying another coat of finish.
Add a New Finish to Your Hardwood Floors

You’ll need: A paint roller and paint tray, a paintbrush (optional), a coat of your new hardwood finish, painter’s tape, and an optional primer if you want to use one.
Step 1: Remove all furniture from the room where you’ll be doing the staining. Put down drop cloths or plastic sheeting on top of any areas that might get stained — like carpet and tile — so that you don’t have to worry about them when applying the stain. Make sure there are no gaps in these drop cloths so that no stain seeps through onto surrounding areas. If there are gaps, tape them off with painter’s tape.
Step 2: Apply an oil-based sealer over the entire floor with a paint roller or brush. This is optional, but it can help protect your wood from stain bleed-through and water damage (if you have any), as well as future scratches and scuffs. Allow this to dry for at least six hours before proceeding to step three.
Step 3: Apply a thin coat of hardwood finish over all surfaces of your floor using either a brush or roller. Make sure you get into all corners and crevices for an even coat. Allow this first coat to dry completely before applying another coat if necessary.
If you’re not satisfied with your results after stripping down your hardwood floors and repainting them, consider hiring professionals to strip away all traces of previous finishes and refinish them in the style you want.
Conclusion
Hardwood floors are beautiful, but sometimes they can look a bit dull. If your hardwood floors have lost their luster and are looking dull, it might be time for a refinishing project.
Refinishing hardwood floors is not expensive and doesn’t require a lot of work, but to make the floor your own personalized color takes an experienced hand and the right preparation.
In just a few short steps, you can change the color of your hardwood floors without sanding.
It’s not too hard to change the color of your hardwood floors, we promise. A few common household items, a little bit of elbow grease, and then a coat of your new hardwood finish or stain will give you the color you’ve always wanted. If you need help, this article should point you in the right direction. It’s easy to do and super simple to accomplish. Decide on a theme or a concept for your house, get some samples from your favorite paint shop, and then go for it!


