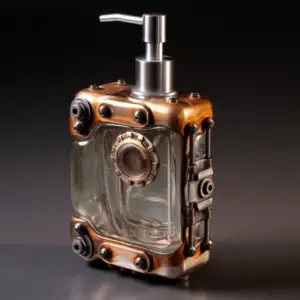
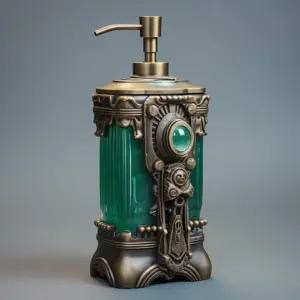
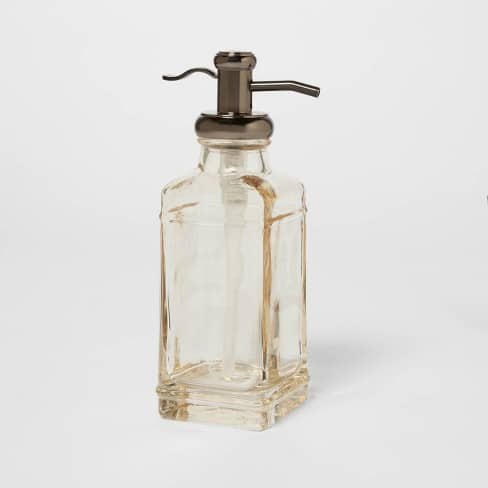
Soap Dispenser Repair: Every family deserves good health. This is mostly supported by the adoption of various actions which include ensuring proper hygiene through regular hand washing. The presence of soap dispensers ensures that proper hygiene is observed and easily managed in your home.
Soap dispensers were first thought of in the early 1800s. It was only until 1865 that the Minnetonka Corporation spotted an opportunity and invested in the first liquid soap dispenser. This was an ideal improvement to the ancient soap storage system- before then, people used to store soap in clay containers.
Archeological research traces soap making back to the 2800 B.C. They first made soap made from a composition of boiled fats and sieved ash. Since then, it has become each household`s decision to ensure that the soap dispensers are working properly and effectively.
At times the circumstances happen and the soap dispenser stops working. In such a situation, the user has two major options: fixing it or buying another soap dispenser.

Table of Contents
How To Take Apart A Soap Dispenser Pump
Disassembling The Dispenser
To disassemble your dispenser, start by placing a mat on the surface where you want to perform your disassembling. This helps to prevent losing some of the small parts of the unit. A drying towel will also come in handy to help in wiping any soap spilling during the process.
Wipe Out Excess Soap
Wipe all the excess soap first to make the dispenser clean and easy to see the parts you are working on. This also helps to keep your hands dry to improve contact with the pump ensuring that easy loosening of the pump without damaging anything
Unscrew The Pump
Unscrew and remove the parts of the pump first by using a small screwdriver that fits into the screw head perfectly.
Then using some of your energy, force out the nozzle and pull out the ring. The ring is usually sticky and oily and any unwanted contact will cause oil staining on your hands. Use the drying towel to wipe the stains from your hands.
Pull and wiggle the pump to detach the middle part of the dispenser. At the lower part, you will see a ball bearing, and being a vital component of the dispenser, you might want to keep it safe to prevent any complications as this is the part that helps the dispenser to function properly.
If you followed these steps keenly then you will have disassembled the pump and you can commence working it.
After disassembling the dispenser, keenly inspect each part to find out the cause of the jamming. Once, you’ve spotted the problem then it’s time to start repairing your dispenser.
Repairing The Soap Dispenser
For effective repairing, start by cleaning all the components preferably using hot water. Add in a tablespoon full of bleach. Soak the components for five minutes then rub and wipe each component with a dry piece of cloth to dry out the water.
Various problems might cause the jamming of the soap dispenser. These well-outlined procedures will help you solve those faults.
Weak Trigger Problem
At times, dispensers tend to jam and don’t reposition to their required spot after pressing the soap trigger.
If you are experiencing such a problem, then press the spring with your hand for a few minutes to regain its normal tension. If the procedure above does not change the working of the dispenser, then the only way to resolve the problem is to change the spring.
Blockage Of The Tube
In some situations, even after several pressing of the soap dispenser`s trigger, there is no soap produced. This is mostly caused by the accumulation of soap inside the tube or a faulty connection of the tube to the trigger.
Also, check for any clogging of soap in the tube and clean it with hot water if there is any. Holes on the tube also cause irregular discharge of the soap. The only solution to such a problem is replacing the tube.
Unstable Soap Pump
The visible sign of this problem is the movement of the pump dispenser when pushed. This is a result of a faulty installation of the pump. The pump should be in a straight position to achieve the required outcome.
To sort out such a problem, you have to unscrew the pump and fix the screw into its appropriate position.
Jammed Pump Trigger
Some cases, the trigger does move a bit even after pressing its appropriately. Such a situation, a lot of factors could produce such results: Could be the improper installation of the pump or a faulty spring in the dispenser.
In case of such a problem disassemble the pump to access the spring to inspect it and check if it is rusty. Replace the spring or even replace the whole pump if the problem does not change.

Conclusion
With the above-discussed steps, we’re positive that you can now disassemble a soap dispenser and repair it if there are any faults. The point is to focus on identifying and accessing the problem not really disassembling the soap dispenser.
After identifying the problem, go ahead and carry out the outlined procedure to take apart the soap dispenser pump and repair it. If the procedures mentioned above do not repair the pump, the only valid solution is to get a new soap dispenser pump. Rest assured; these simple procedures might save the day for you.


