PEX plumbing installation guide has become a preferable pipe material compared to other materials like copper in the plumbing industry. This can be attributed to PEX being cheaper and more reliable.
However, people are asking many questions about plumbing using the PEX pipes. One of the most commonly asked questions is how to crimp PEX without a tool. This article will answer this question and walk you through everything else you need to know about plumbing with PEX pipes.
Table of Contents
How to Crimp PEX without the Crimping Tool
Step 1: Remove the Adhesives or Fittings
Remove the fittings or adhesives to begin this exercise. Carry out this task entirely by hand, without any tools. To loosen the joint, turn it in an anticlockwise direction. If an adhesive was used, remove it also with your bare hands.
Step 2: Pull Out The PEX Materials
PEX plumbing installation guide time for you to remove the PEX materials after removing the adhesives. Pull the materials out from where they have been fastened using your hands. Here, move slowly and gently to avoid causing yourself any harm or discomfort.
Step 3: Disconnect the Materials
Disconnect the components that make up the structure. When doing this, take great care to avoid causing any long-term damage to the materials.
Step 4: Crimping Process
The PEX is crimped here. Crimping also refers to the act of curling something; in this case, it is the PEX that is curled.
Can You Use Sharkbite Fitting on PEX Pipes?
A sharkbite fitting can be used with PEX pipes. A sharkbite is a two-piece fitting that allows plastic water lines to be joined without using tools or solder.
A significantly stronger seal is created when the parts are pressed together in this type of fitting than you would ordinarily get with a standard compression fitting. Because of this, it can be used in pressurized applications like the piping in some appliances. The majority of sharkbite fittings are located on water inlets. These hoses deliver cold water to your freezer or refrigerator.
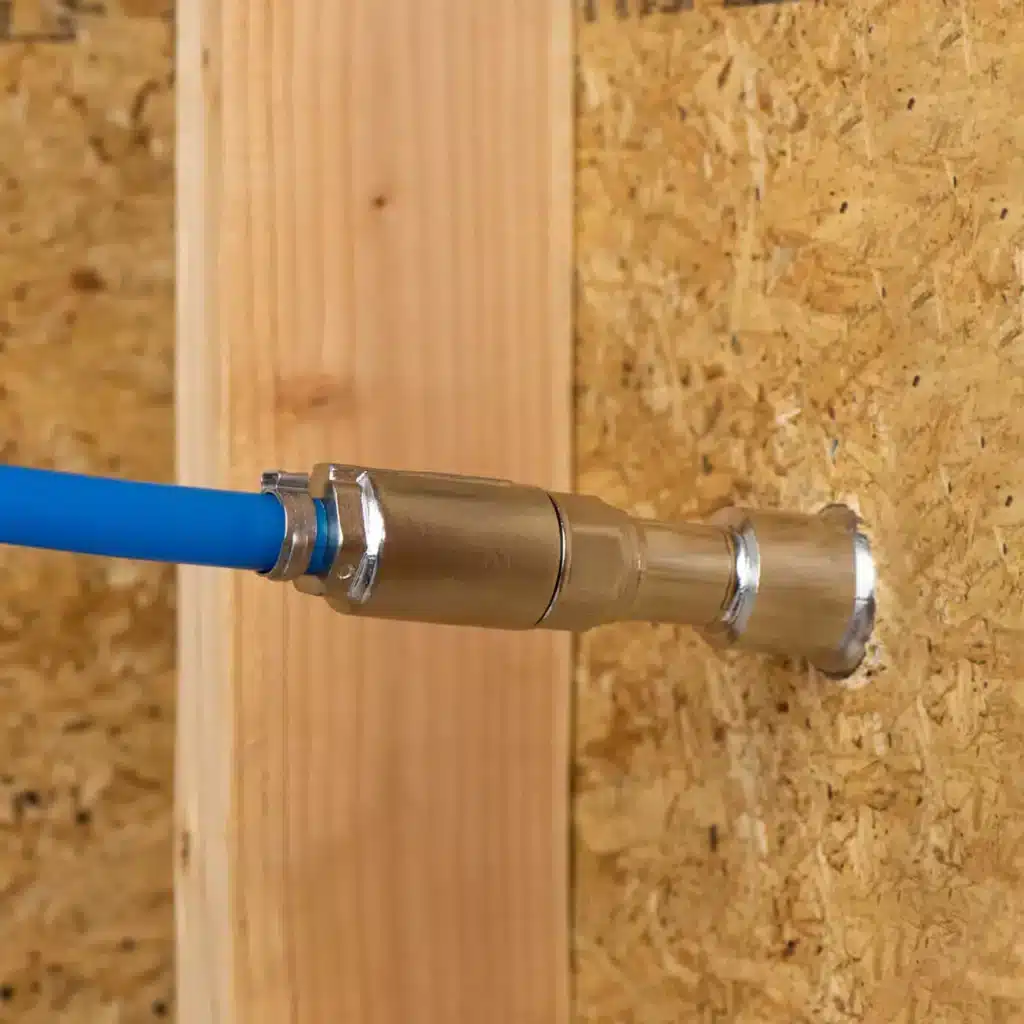
How to Install SharkBite Brass Push-To-Connect Fittings
Cleanly and Squarely Cut the Pipe
Ensure the pipe is clear of debris or scratches, then cut it as neatly and accurately as possible.
Calculate and Note the Depth of Insertion.
Utilize the SharkBite Deburr and Gauge tool to measure and mark the insertion depth of your PEX pipe.
Make the Connection
The fitting should be pushed to the insertion mark you made on the PEX pipe. Finally, turn on the water to check the connection.
How To Remove Sharkbite Fitting
SharkBite brass push-to-connect fittings, in contrast to conventional fittings, can be taken apart and reused if adjustments are required. Use a SharkBite Disconnect Clip or Disconnect Tongs to remove the fitting.
PEX plumbing installation guide the Disconnect Clip, snap it onto the PEX pipe and pull it up to the release collar. Next, press the release collar and pull the pipe from the fitting.
To use the Disconnect Tongs, slide the Disconnect Tongs over the fitting and the pipe. Pull the pipe from the fitting by applying pressure to the release collar of the fitting with the tongs.
Which is preferable, copper or PEX?
Compared to copper pipes, PEX has several benefits:
- PEX costs less than copper. 0.5-inch of PEX pipe costs only a third of the price of copper pipe. However, a portion of the savings will be used to buy a unique tool for fitting installation. But if you’re conducting a medium- to large-scale plumbing project, PEX will often be less expensive than copper.
- Copper fittings take longer to install than PEX fittings. If you utilize a manifold and a home-run system, it is like running a garden hose to each fixture, so simple and quick. However, the connections can still be made more quickly than with copper soldering, even if PEX fittings are installed in a traditional main line and branch system.
- Like copper, a PEX connection won’t corrode. Copper can corrode over time in an environment with acidic water. A PEX supply is preferable in these situations since it is unaffected by acidic water.
How Can You Connect PEX Fittings To My Current Pipe?

There are numerous approaches. The simplest method is to cut a piece of plumbing pipe and insert a stab-in tee.
One famous brand of stab-in fittings is SharkBite. This technique saves much time because soldering is not necessary. But consult your plumbing inspector first if you intend to bury this connection in a wall or ceiling. The concealment of stab-in fittings is prohibited in several places.
Another technique is to solder in a tee and a PEX supply adapter. After that, insert the PEX supply tubing into the adaptor and secure it using the connection technique of your choice.
Another option is to utilize a stab-in tee to connect the supply of PEX fittings to CPVC.
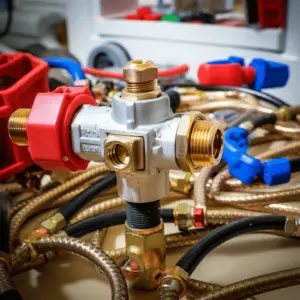
Does PEX Require the Use of Manifolds?
No. PEX fittings can be installed with the traditional main lines and branches to each fixture, precisely like you would with other types of pipes. But because this system needs many fittings, you lose a lot of the advantages of PEX.
In order to use the home-run system, you must construct a manifold in the utility room or another location near the water heater and main water line, and then, as previously mentioned, run a separate PEX tube to each fixture. Two connections are needed for this system—one at the manifold end and another at the fixture end.
You can also utilize a hybrid system. Here you run three-quarter-inch hot and cold lines to a set of fixtures, such as those in a bathroom, and install a smaller manifold behind the access panel. Next, run small sections of PEX water line tubing (1.5 inches) to each fixture.
Manifolds appear to be dangerous. However, by doing away with the requirement for tees and other fittings between the main supply line and the fixture, they simplify plumbing lines and decrease the likelihood of leaks.