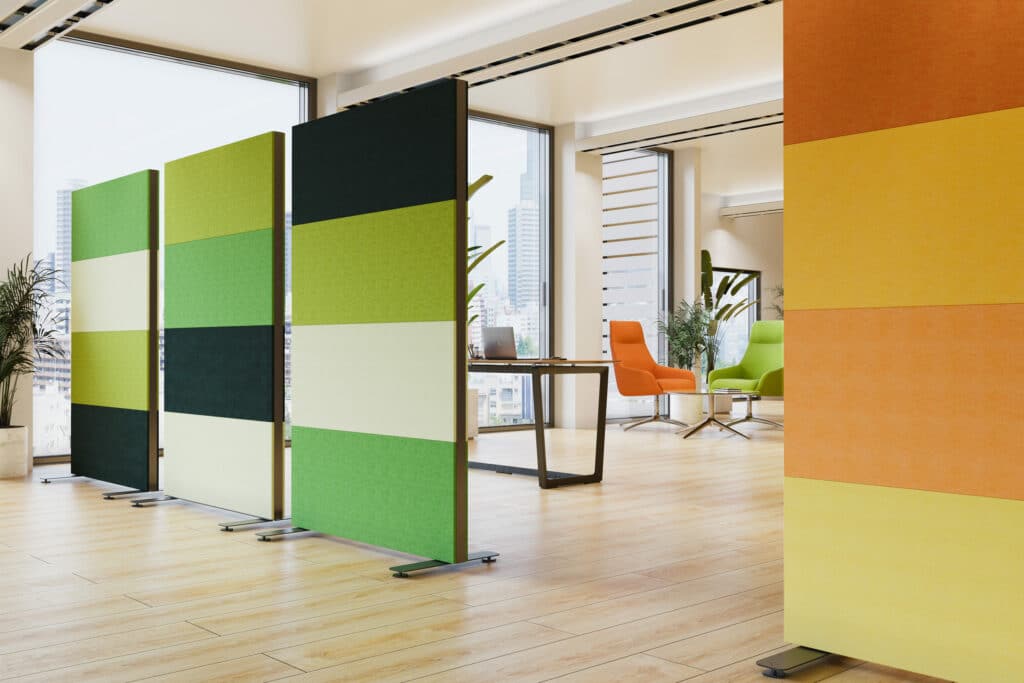
Freestanding walls are not very common in modern homes but if you have one in your house, you need to know how to stabilize it. Freestanding walls may contain various elements such as electrical wires and water supply lines.
However, it is important to note that as the height of the wall increases, it requires lateral support to remain stable and reliable. In this article, we will help you learn more about a freestanding wall and how to stabilize it. So, here’s an ideal approach to stabilize your freestanding wall.
Table of Contents
How to Stabilize a Freestanding Wall
If constructed and supported correctly, a freestanding wall can greatly enhance the aesthetic of a space and even add decoration. The good news is that a freestanding wall may be made sturdy by taking a few quick steps. Here is a simple way to secure and stabilize a free-standing wall:
Assembly Wall Frame
The whole process starts by assembling the wall frame. Maintain the rail and frame designs before putting them together using deck screws. Then place window stiles between window rails and secure them with a screw. After that, align the window and wall frames against one another.
Step 2- Attach the Pipe/Wire
In the event that you want to contain an electrical wire or a water pipe in the freestanding wall, then you will need to attach the pipe or wire to the underside of the window rail. It will keep it safe and concealed. After that, align each window stile such that it is below the other. Drill two holes of equal diameter in the lower frame rail. Through the holes, insert the wire or pipe and then tighten them.
Install the Window Rail Skins
In this step, the top and side frames must next be fastened to the base using glue, nails, or a hammer. Then, install the window rail skins and window stile skins. Use the hammer slowly since you need to set the right level here; so be gentle and don’t rush.
Make Panel Skins
The next thing is to create the panel skins. With the use of a measuring tape and a pencil, mark the location of the opening window on the panel skin, and then use a jigsaw to cut the holes along the lines.
Fix the Frames Skins
You can fix the frame by applying wooden glue to one side of it. Align the one-panel skin perpendicular to the frame and then fasten the frame. Flip the frame around and fix the opposite as well.
Trim the Skin Panels
The skin panels will need to be trimmed to fit the surface of the frame skins. After that, use a handsaw to gently square the corners of the panel.
Use a Lower Frame to Assemble the Pipe
Use a pipe wrench to put the necessary pipe together and then thread the pipe from the top to the bottom of the frame rail.
Necessary Tools to Stabilize a Freestanding Wall
You’re going to need a few necessary items that make the process simple in order to support a freestanding wall. You must also purchase the necessary tools and equipment for drilling, cutting, framing, and creating a freestanding wall. These are:
- Jigsaw
- Nails
- Hammer
- Pipe wrench
- Drill machine
- Reciprocating saw
- A measuring tape
Final Look
Lastly, after stabilizing the freestanding wall and containing any underground utilities, conduct the final inspection. Consider filling the nail holes and smoothening out the surface. After that, paint the wall and let it dry.
Options for Bracing Freestanding Walls
Freestanding walls will often require an additional structural wall to help improve rigidity and reduce deflection. Popular techniques for reducing deflection include inserting supporting rods or anchors and using strong gauge steel framing. These methods, however, often need structural steel pieces that are custom-made, which can result in protracted wait periods, slowed construction, and higher expenses.
The conventional (92mm or 150mm) steel stud wall may be mounted with the Studco M110 StrongArm structural wall brace, for instance, which minimizes lateral displacement on the wall and adds strength to the frame. The ability to install this brace without changing the wall’s overall structure is an additional advantage of using it.
Can a Retaining Wall be Freestanding?
Retaining walls may, in fact, stand alone. A wide range of blocks is now available from manufacturers that may be used to build both retaining walls and freestanding barriers. Moreover, a freestanding wall may be found in a variety of forms, sizes, materials, and colors. But as the wall’s height rises, the walls require some lateral support to stay upright and without deflection.
What is the Cost of a Freestanding Wall?
Well, it depends on the features and methods employed in stabilizing the freestanding wall. Just like the attached walls, the price of freestanding walls varies from $700 to $2000 depending on the height, form, and material of the wall. The majority of clients want a seamless appearance and many walls arranged in a T-shape. As a result, the price of a wall varies on its quality, shape, size, design, etc.
As for the height, there’s no limit as to how high you can build a freestanding wall. You can build it to any height you choose. However, it’s recommended to have a wall that is just 4 inches thick and 6 to 7 feet tall. As the height is increased, more solid lateral support is required. The wall needs enough lateral support regardless of its orientation—horizontal or vertical.
The freestanding wall may also be raised to a height of nine or ten feet. However, experts advise not exceeding 7 feet since doing so is unsafe, particularly in houses with children.
Thickness also varies, but in most cases, freestanding walls tend to have 4-4.5 inches thickness.
Bottom Line
As the name implies, a freestanding wall can stand independently from the building. But if there is inadequate lateral support, it could be dangerous, especially if the distance is greater than 3 feet. Although stabilizing the freestanding wall is not a difficult task, it must be done correctly. You can stabilize a freestanding wall yourself, but if you don’t have the necessary skills, we suggest that you hire a professional.


