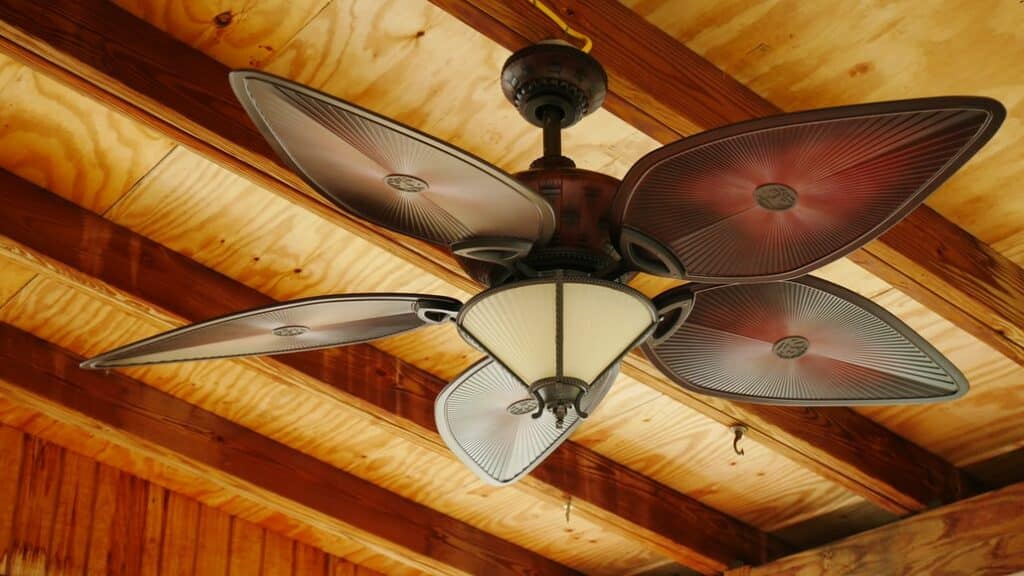
Ceiling Fan Chains can be a great addition to any home. Not only does it enhance the room décor and improve airflow, it also helps in lowering utility bills. You can count on them to cool off the room without having to worry about changing the entire thermostat.
However, there’s a catch. Many ceiling fans depend on a quite-low tech approach of control; a chain. And where the chain is used as the main switch, there will be a broken chain at last. That means you’re likely to experience issues with your unit from time to time.
A broken ceiling fan chain is a common problem. Even during normal use, those weak beaded metal pull chains can easily break with moderate pull. The good news is that you don’t have to replace the entire ceiling fan or even call in a technician to help resolve this.
How to Turn off Ceiling Fan without Chain
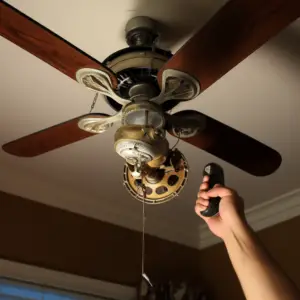
First, check if there’s a small bit of chain left. If there is, you may be able to pull it using needle-nose pliers. If the fan is connected to power and is not controlled by a wall switch, then you may want to shut off the breaker to stop the fan before trying to pull the tiny bit of chain. You don’t want to lose your head doing this.
To control the fan speed without the switch, you will have to apply current to the power wires to get the speed you want. While this is a mechanical device, the only way you can change the settings is by physically moving the switch to another position.
Most fans come with the same click pattern, so be attentive while counting the pulls.
- 1st Click = High.
- 2nd Click = Med.
- 3rd Click = Low.
- 4th Click = Off.
The Chain is Completely Gone
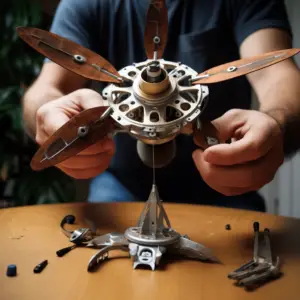
Ceiling Fan Chains the chain is just gone, unfortunately, the easiest way would be to replace the entire fan. If you’re the DIY type and are relatively knowledgeable about these items, you could take the fan apart and replace the switch. It will be a good idea to take the old switch with you when going to the hardware store for a replacement.
Also, remember to label the wires when you remove the broken switch so you don’t lose track of where they all went.
Tip: flipping the breaker on and off many times will do nothing but turn the fan on and off many times. Well, technically it’s possible; you can control the speed of the fan by constantly flipping the breaker on/off, but your arm would get tired really quickly.
Broken Ceiling Fan Chains: Internal vs. External
There are two major types of ceiling chain breaks: internal or external to the fan housing. The repairing process for an external fan chain is simple and takes only a few minutes. The internal ceiling fan chain repair meanwhile is more complex and usually requires some disassembly.
External
This is where the ceiling fan chain breaks outside of the fan housing. It usually breaks somewhere at the midpoint. The break is visible and easily accessible, which makes it easier to repair with an extension chain.
Internal
This is where the ceiling fan chain breaks inside of the fan housing. It is where the entire visible part of the chain has broken off and the remaining chain has disappeared inside the fan housing. This kind of repair becomes a pull chain switch replacement project.
One major reason why many ceiling fan chains break and disappear internally- as opposed to the accessible external spot- is due to the hole on the fan housing that often creates friction with every pull. With the chain repeatedly rubbing against the sides of the metal collar, breakage is inevitable.
Safety Consideration
Start by cutting power to the ceiling fan by turning off the switch on the wall. Alternatively, locate the circuit breaker at the electrical service panel that controls the ceiling fan and flip off that circuit breaker.
Once the housing of the ceiling fan is open, use a voltage tester to make certain that the power is off. Be careful when working on the ladder. It’s recommended that you have an assistant by your side.
Tools and materials required include pliers, wire stripper, voltage tester, manual screwdriver, soft rag, pull chain extender (pull chain switch kit) electrical wire nuts, and 6-foot step ladder.
Repairing an External Ceiling Fan Chain Break
If the remaining ceiling fan chain on the unit housing extends at least ½ inch out of the housing, then you just need to add a ceiling fan chain extension. This is the best approach, provided you have enough existing pull-chain to work with.
Add or rather attach the extension to the end of the remaining ceiling fan chain. Push firmly to snap the end of the chain into the connector.
However, if there’s no ceiling fan chain visible, then it simply means that the pull within the fan has broken near or inside the fan pull switch. In that case you’ll need to proceed to the next step
Unscrew the Metal Collar
Remove the metal collar through which the ceiling fan chain should extend. Try screwing off the collar with your fingers, turning counterclockwise. If that doesn’t work, use pliers and a soft rag wrapped around the metal collar. This will help to prevent the fan housing from further damage.
Open the ceiling fan Base
Take off any light bulbs from the ceiling fan. Using a manual screwdriver, turn out the screws securing the removable lower part from the ceiling base. Keep the screws aside and carefully pull off the removable section. Leave it attached by its wires/components to the ceiling fan base.
Pull Out the Pull Chain Switch
Find the ceiling fan chain switch and carefully pull it down. This is basically a small plastic unit with a transparent side and is usually attached to the fan with three/four wires.
Using the wire stripper, snip off the three or four wires that attach the fan chain switch to the fan base. Leave a minimum of two inches of wire attached to the fan base so that you can easily reattach the new pull chain switch.
Attach the New Pull Switch and Reassemble
At this point, be very mindful to match the wiring of the old switch with the wiring of the new switch. Attach the three/four wires of the new ceiling fan chain switch to the fan’s wires. Twist the wires together and top off each connection with a plastic wire nut.
Thread the pull chain through the hole in the housing. Tighten the metal collar with your hand and then reattach the lower section of the ceiling fan. Add back any light bulbs and turn the power back on. Lastly, test the fan by carefully pulling on the newly fixed fan pull.