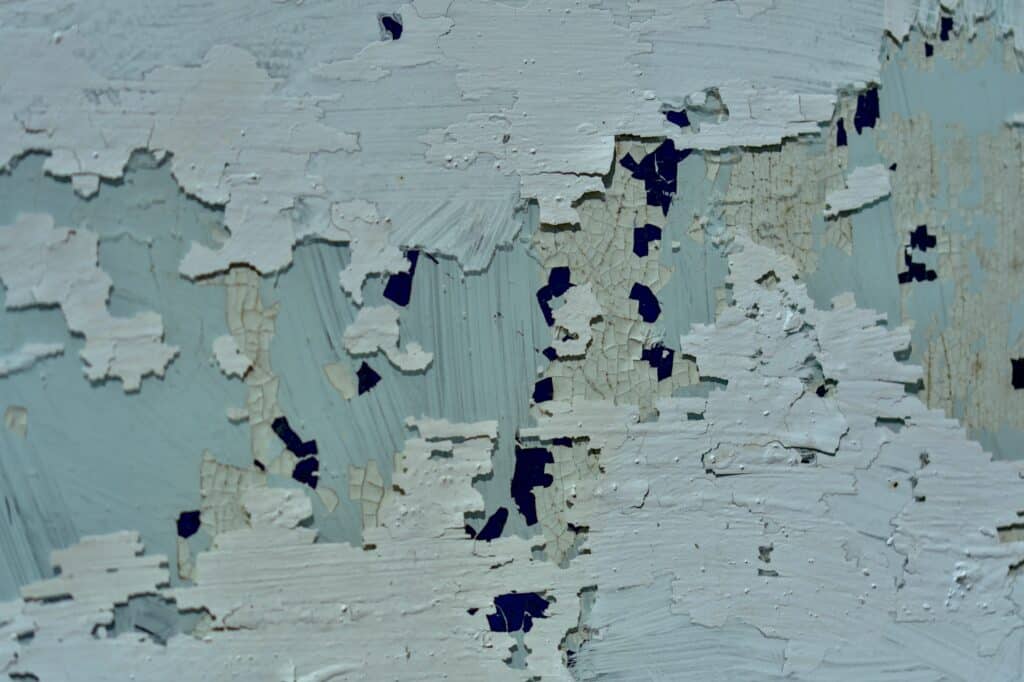
Using a paint peeler is one of the coolest and most popular paint removal techniques that may save you money and time. It’s not complicated. You just need to know how. It gives you beautiful professional results that, if done correctly, will require no sanding. There are many brands of peelers on the market to choose from.
However, a more significant differentiating factor is not just the brand but the type of Peelaway it is. Typically, you have a choice between Peelaway 1 and 7.
Table of Contents
The differences between Peelaway 1 and Peelaway 7
As would be expected, Peelaway 7 is a better r version of Peelaway 1. However, a few more distinguishing characteristics between the two might potentially influence which one you pick.
Peelaway 7
For instance, Peelaway 7 is more environmentally friendly as it contains nontoxic components. It is formulated without methylene chloride and can cover 40 to 50 square feet per gallon. In this regard, Peelaway 7 is the best for environmentalists.
Peelaway 7 has very little odor and can remove almost any modern paint in one application. It is also effortless to use and is safer than traditional methyl chloride paint removers.
The paint stripper is also recommended for aluminum, plywoods, veneers, and certain hardwoods like oak and mahogany. Since it’s not acidic, it does not burn the skin in the event of an accidental contact during application.
Peelaway 1
Peelaway 1, on the other hand, is water-based and can be used to remove thick and old layers of paint on almost any surface. For example, you can use 1mm of varnish in thin layers of paint but up to 6mm in thick and old layers. You also need to leave it on for 2 to 48 hours, depending on the thickness and age of the coat. For older coats, you can wait up to 72 hours. This helps with the drying process.
Peelaway 1, a high-PH product, reacts with coat lead/oil. This requires neutralizing the peeled-away surface with a mild acetic acid solution (included with Peelaway packs) and drying it before repainting.
Furthermore, during damp seasons like autumn all the way to spring, moisture containing Peelaway 1 residues could resurface from the substrate and raise the alkaline PH value again. As a result, if you use Peelaway 1 and would like to repaint, it’s a good idea to use a good alkaline-resistant acrylic primer/sealer as a precaution prior to painting. However, if you don’t plan to repaint the surface, the PH value is not critical.
Additionally, Peelaway 1 should not be used on aluminum, veneers, plywoods, or unskimmed drywall. It may also discolor some hardwoods like oak, teak, and mahogany.
Application
Use numerous test patches in varied elevations to see how each coat reacts to Peelaway. Use different weather-affected test patches on surfaces. Insert a spatula into the paste and gently lift a part to remove the test patch. Peel the paste and clean the area with a moist sponge if the original surface is visible. If the paint is still attached to the surface, remove the test patch and reapply a new one after a few hours for better results.
You can apply the paste to the entire area you need to remove paint off after determining how long to wait for the Peelaway to work with the test patches. After this, cover the surface with the Peelaway blanket and leave it for the test patch duration.
You can eventually peel away the paste when the time is due. However, it is also important to remember to neutralize the surface if you use Peelaway 1 and plan on repainting.
Does the application have to be even throughout the whole surface?

Different thicknesses of Peelaway paste may be needed to remove paint in one application depending on the paint system and surface thickness. Having many test patches is crucial if the surface painting is uneven.
However, using a thicker paste of Peelaway than required will not have detrimental effects; it will only be less economical. On the other hand, using a thinner paste will make paint removal a bit harder and might require a second application, which can be time-consuming.
Is it necessary to seal the sides of the Peelaway cover?
Peelaway covers don’t need to be sealed, but taping the sides keeps poultice from drying out and lets it penetrate the paint. It also protects the Peelaway from wind and dampness outside.
How do you know that the Peelaway is ready to remove?
This is one of the main reasons why a test patch is important. You should check a test patch periodically with a spatula and see how easy it is to lift and if the original surface is apparent. When all paint layers lift off with ease, the Peelaway is ready for removal.
If the original surface is still not apparent after 72 hours, the Peelaway you are using is not suitable for the surface. If the surface uses a modern paint system, you will need Peelaway 7 for better results with a single application.
When you’ve had successful results with a test patch, you don’t have to keep checking the Peelaway after applying it to the whole surface. Instead, just wait the same length of time it took to get results with the test patch.
Final thoughts
Using Peelaways is a great and easy way to remove paint from almost any surface. Both Peelaway 1 and 7 are excellent paint removal tools depending on the surface you intend to use them on. Peelaway 1 is great for old paint systems that use collagen-based raisins, while Peelaway 7 works like magic with almost any modern paint system.