Home Upgrades, Caulk and wood filler may not sound like the most exciting things to discuss, but if you’re planning on making upgrades to your home, you are going to need to learn more about caulking and wood filler.
So, in this article, we will look at how each of them works, how they’re made, and how they differ from one another. Once we’re done with that, I will give you a general overview of both wood filler and caulking, along with a few tips on applying them in your home or garage.
One thing you should know about both wood filler and caulk is that they’re both incredible options that can turn something ugly and amateur-looking into something smooth and gorgeous. Both caulking and wood filler can make your whole project look amazingly professional.
Table of Contents
Caulking Vs Wood Filler: Differences
Here’s a quick overview of the differences in applications between the two:
| Wood Filler Applications | Caulk Applications |
| Fill outer corners of moldings | Fill inner corners of moldings |
| Fill nail holes | Fill small cracks and gaps in baseboards, window frames, doors, and trims |
| Best for fixing holes in woodworks | Best for filling corners and gaps |
| Fixing holes and gouges in wood | Seal window frames |
Caulk Overview
Most people cover gaps with caulk. The best thing about caulk is that it comes in numerous forms and may be used to seal windows and doors, waterproof bathtubs and sinks, and fill baseboard gaps.
Acrylic or silicone caulk Acrylic silicone is easy to apply, clean, and paint to match walls and trims. Due to its tendency to deform, acrylic caulk may not be ideal for many applications.
Waterproof silicone caulk resists breaking and shrinking. Painting is impossible.
You don’t have to worry about downsides as caulking types are listed. Different caulking alternatives are for windows, doors, bathtubs, etc. Caulk cannot be sanded, so apply carefully.
For simplicity, Caulk is useful for
Filling gaps and cracks around baseboards, crown molding, door and window frames, and other trim. Caulk is also great for sealing windows and skylights, around bathtubs, and other bathroom fixtures. You can also use it to seal around the edge of tile work.
Wood Filler Overview
Wood filler, sometimes referred to as wood putty is meant for exactly what its name suggests- filling holes in wood. This option dries very hard and unlike caulk, Home Upgrades can be sanded smooth and painted to blend in.
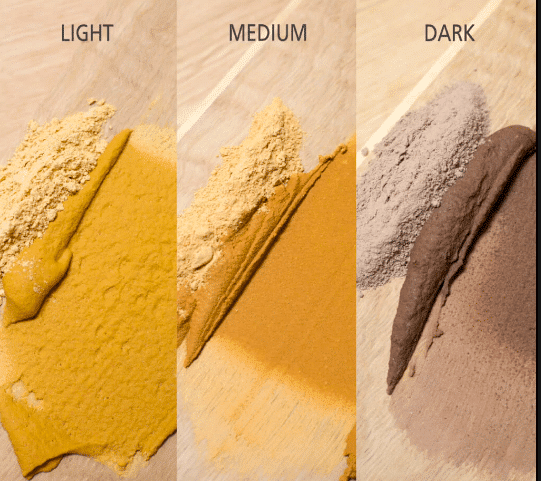
Some wood filler can also be stained to complement the surrounding wood- although it can be a little tricky to match the color. Wood filler mostly comes in a beige color, which is of similar color to unpainted wood. Nonetheless, you can always get white wood filler as well.
While most wood filler comes already mixed and ready for application, some wood filler options might require you to mix with water. You can use a small knife to apply it or just use your finger if you prefer.
Wood filler is normally preferred because you can easily get a pristine finish. You also don’t have to be meticulous when applying wood filler, as you can always sand it smooth. In simple terms, wood filler is considered great for
Filling nail holes and fixing gauges in wood including wood furniture. You can also use it to fill the outer corners of molding and trim.
Overall, either option in the right situation can lend excellent performances, but they do have their downsides. For instance, on one side, caulk is terrible for filling nail holes, and other holes in wood as it will shrink and cause a divot over time. On the other hand, wood filler is a terrible option for filling gaps in trim because it would take much time to apply and sand.
How to Fill Gaps in Wood Trim
Wood trims are best used with caulk to bridge gaps between surfaces like trim and a wall or ceiling, two trim boards, or molding. Caulk dries quickly, so work in small pieces.
Once dried, caulk is difficult to sand or remove. Wipe excess caulk before it dries. Apply a thin bead of caulk along the cracks to avoid wiping away much. Wipe the bead of caulk into the gap and add more as needed.
Some caulk labels may suggest you use a damp sponge, but you can ideally use a damp rag, especially if you are working on a textured surface. Just pick the method that you feel most comfortable with to get satisfactory results.
How to Fill Nail Holes in Trim

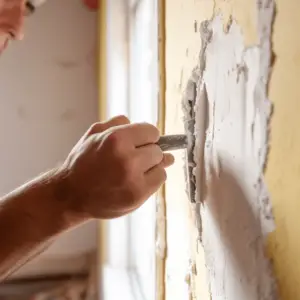
Wood filler is probably the most recommended option for wood trim. You can use it to patch nail holes, cracks, or damage on a piece of molding or a single board. Plus, you can sand it to perfection if so you wish. Perhaps that’s one of the reasons why some people prefer using wood filler before caulk.
You can easily apply the filler everywhere you want and let Home Upgrades dry completely, then come back and sand it smooth. You might want to use sanding sponges to sand flat sections smoothly.
Once you’re done sanding, proceed and wipe away the dust before moving onto caulk, (that is if you are dealing with both options). You can get both caulk and wood filler from your local home improvement store.