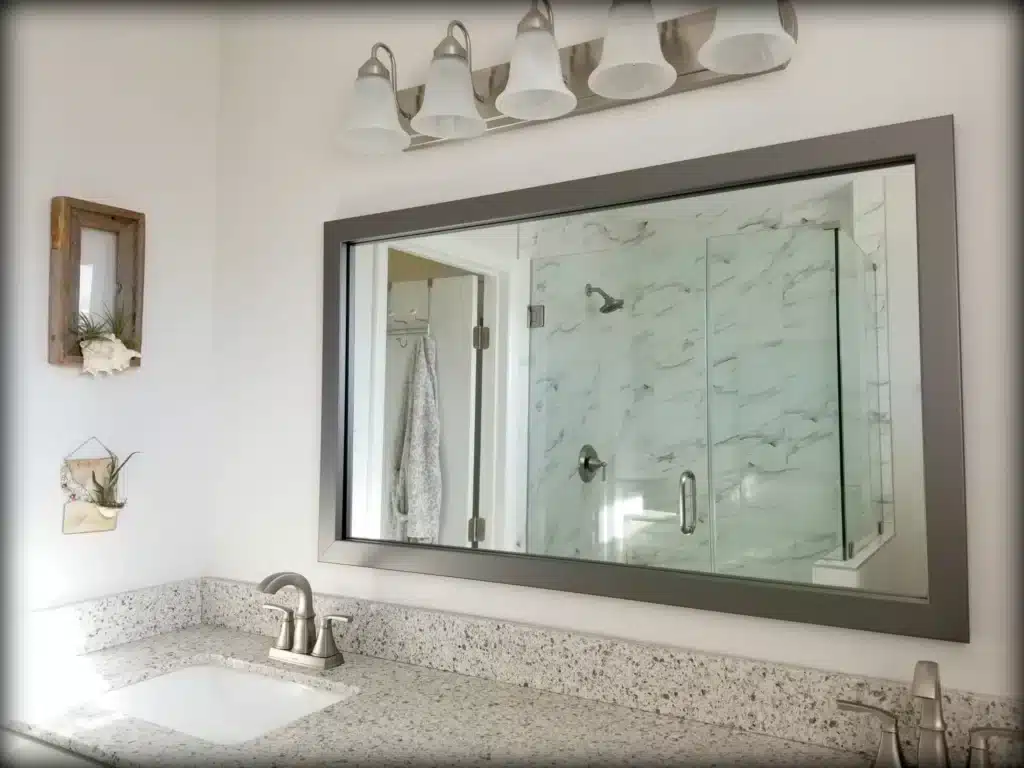
DIY Mirror Frame, Moisture and age can cause your bathroom mirrors to develop dark, chipped edges, a condition known as “mirror rot.” You can update your existing bathroom mirror instead of replacing it using custom-made, easy-to-install mirror frames.
Frame My Mirror and Mirror Mate, two custom mirror framing firms, share identical products, installation, and ordering processes. This article will compare their policies, frame choices, and cost. For prices, a 36′′ wide by 24′′ tall mirror with six clips in a similar style and frame thickness will be used.
Table of Contents
Frame My Mirror
- There are 59 distinct frame styles to pick from.
- A 36′′ by 24′′ mirror with six clips costs $122.
- On their website, they provide simple step-by-step visual directions.
- Mirrors under 100 inches in length qualify for free shipping.
- Returns are accepted. You must pay the freight for the return and new frame.
- Can help with mirror ordering for large or uncommon mirror scenarios.
- Free delivery on $1 samples
- The frames are made from wood or MDF.
Mirror Mate
- There are 66 different frame styles to pick from.
- A 36′′ by 24′′ mirror with six clips costs $128.
- In addition to the instructions, there is a video with installation instructions. The use of cardboard positioning corners simplifies the installation process.
- The cost of shipping for a 36′′ x 24′′ frame is $11.95.
- Mirror Mate only accepts returns for damaged frames or order problems.
- Can help with mirror ordering for large or uncommon scenarios.
- Samples are free with $5 shipping.
- The frames are constructed from MDF.
Frame My Mirror vs. Mirror Mate: Which One Is Better?
Although the two companies are incredibly similar, Mirror Mate’s convenient cardboard placement corners for simplicity of installation are a bonus for them. The installation video provided by Mirror Mate is also a plus.
While Frame My Mirror appears to be a bit less expensive and offers free shipping, eventually, you will have to choose from a company that provides frames that best suits your bathroom.
How to Frame a Mirror
Below are eight steps on how to frame a mirror:
Gather Your Materials and Tools
First and foremost, gather your mirror-framing materials and tools. Some of these goods may already be in your home from a previous DIY project, but if not, you can find them at your local hardware shop or through internet sellers like Amazon. You’ll need the following to get started:
- Baseboard
- A level
- A tape measure
- A miter saw
- Some caulk and a caulk gun
- Extra fine sandpaper
- Liquid nails and extra strength wood glue
- A paintbrush, spray gun, or a roller
- Paint
- Painter’s tape
- A tack cloth
The color of the paint you choose to use is entirely up to you. But be sure that the paint you choose to use isn’t water-based. This is especially if you are using MDF boards, which are naturally absorbent. They absorb water and moisture quickly, resulting in splintered, swollen, or cracked boards.
Because of this, oil, non-water-based acrylic, and latex paints are recommended. Even though the boards are usually sealed, the risk isn’t worth it, especially when you’ve put so much effort into a DIY project.
Measure Your Mirror
Use a tape measure to calculate the size of your mirror by placing it along the edge. Take note of any mirror clips and how they’ll fit into your frame while taking the measurement. If you plan to hang the frame from the wall over the clips, measure to the top of the clips.
Also, measure the distance between your mirror and other items on the wall, such as light switches, a backsplash, shelves, or a countertop or vanity. There should be at least a couple of inches between the frame and anything else.
You’ll be able to select the size of the frame and decide whether it will be fastened to the wall or the mirror itself after taking all of these dimensions.
Cut the Baseboards
Cut your boards to the proper length with a miter saw set at a 45-degree angle.
When you’re finished, separate the four pieces of the board so that you can install them independently later. It’s good to lay them down flat to make sure everything lines up correctly when hanging the mirror frame.
Paint the Baseboards
The real fun begins after you’ve cut the baseboards to size. It’s time to start painting. If you are framing your bathroom mirror, it may make sense to match the color of the frame to the color of your vanity, but it’s all up to you. Paint the boards on all sides with a roller, brush, or spray gun once you’ve decided on a color. No water-based paint should be used.
Remember to paint the back because the mirror will reflect it. If you think your boards would benefit from a second layer, go ahead and add it. Allow at least two hours for the paint to dry.
Sand the Baseboards
Use an extra-fine sanding pad for sanding the baseboards lightly, then wipe them clean with a tack cloth.
Install the Mirror Frames
After the paint has dried, the mirror frame can be installed. Apply liquid nails to the back of the board, starting with the bottom piece and avoiding the edge closest to the mirror. Make sure the frame is straight by pressing it against the mirror or the wall. To keep everything in place while the construction adhesive cures, use painter’s tape.
Repeat the process, starting with the top and ending with the two side pieces. Wipe any remaining adhesive from the wall or mirror.
Touch Up the Frame
Remove the painter’s tape and fix any uneven corners of the frame with caulk once the mirror frame has dried completely (approximately 24 hours). Run a bead of silicone caulk along joints or gaps using a caulk gun and smooth with a damp finger. Touch up with paint once this has dried.
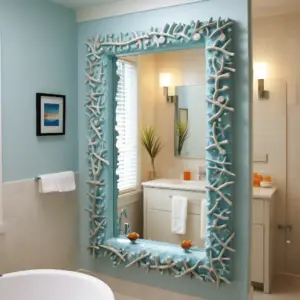
Get Creative and Customize Your Mirror Frame
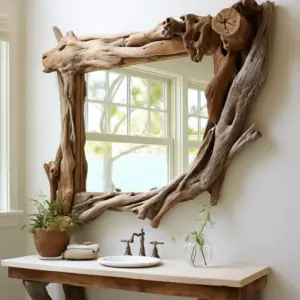
The easiest way to frame wall mirrors is with an MDF baseboard, but you can also use other materials to create one-of-a-kind artwork. There are numerous DIY mirror frame ideas available. Try reclaimed wood boards for a rustic effect or a bright paint color to match the wall color or wallpaper if you like the look of wooden frames.
To further transform your room, consider painting a specific design, adding a textural feature, or hanging a string of lights. With a task like this, your imagination is the limit, and isn’t that the whole idea of a DIY project?