The function of drywall mud is to attach drywall tape over areas where pieces meet to efficiently promote an even seamless appearance- a process known as “taping and bedding.” Poor mudding results in the formation of cracks causing the tape to peel away from the drywall.
Table of Contents
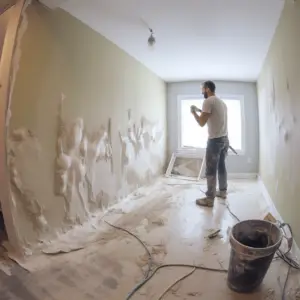
How To Fix A Bad Mud Job On Painted Drywall
If you end up with a lousy drywall mud job, how will you resolve it? Drywall mudding is the hardest part of drywall installation. That is why in this guide, we’ll help you understand how to fix the error, the right way of doing it, and other tips. Let’s dive in.
What Causes A Bad “Mud Job” On Painted Drywall?
It is a rule that drywall needs to dry before you apply paint entirely. But what if you notice your drywall color coming off without visible damage? It is a prevalent issue with drywall painting whose surface is not perfectly even.
When the paint begins to come off, the color also starts to pool below the surface of the drywall as it is not adequately sealed to the drywall surface. Thus, it quickly gets into the drywall and wall gaps.
Another reason is when you paint your drywall with non-porous paint that has no sufficient low viscosity to keep the color from pooling.
Step by Step Guide on How to Fix A Bad Mud Job On A Painted Wall?
Uneven drywall seams, cracks, popping nails, and other defects can surface after the wall is fully painted. Drywall is the material that fixes all types of repairs on the drywall. However, there are times when it doesn’t stick well or is imperfectly done.
You can resolve a bad mud job on painted drywall by applying a primer and allowing it to dry, then spreading a lightweight joint compound to remove the defects in the mud job. With the help of a sponge, remove the dust to get rid of excess debris on the surface.
Check the step-by-step guide right below.
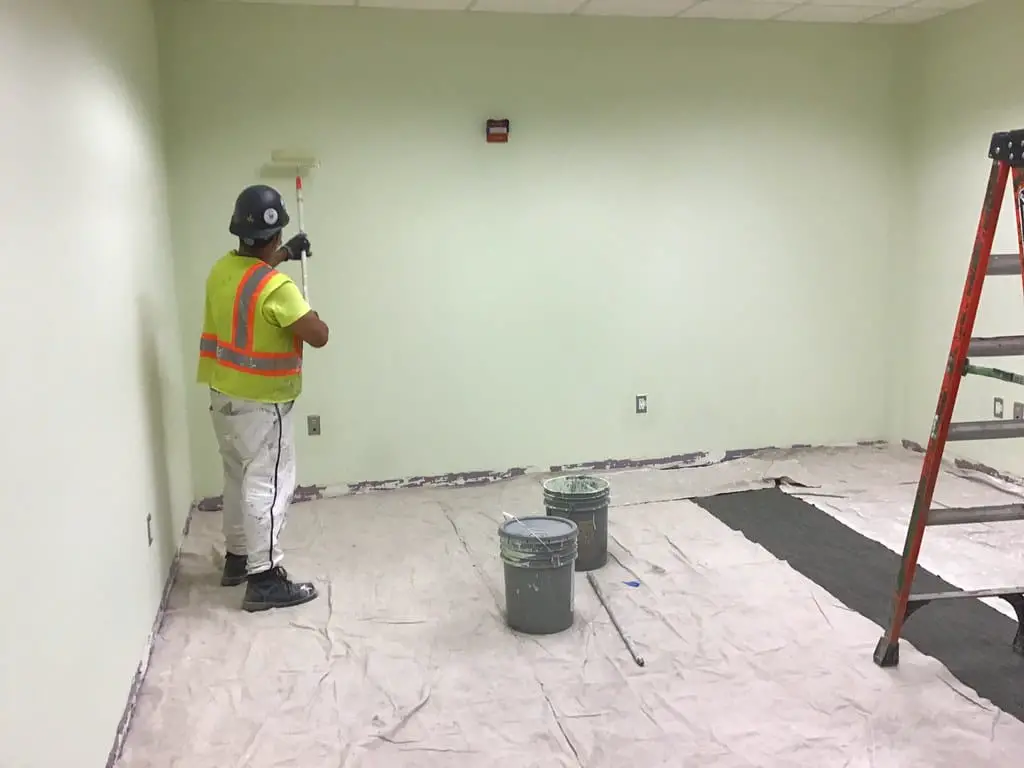
Apply Primer
Evenly apply the primer, ensuring it spreads from one end to the other to rectify the mistake as you would like it to be. This step is critical to prevent hurdles down the process.
Allow the primer you have already applied to dry before going to the next step. Failure to do so will cause the primer to spread and become uneven.
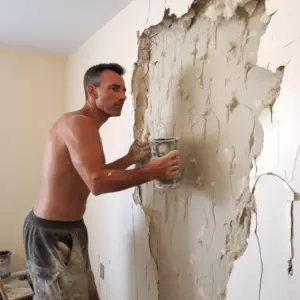
Spread Lightweight Joint Compound
After confirming that your primer has thoroughly dried, you can use a lightweight joint compound that will assist in evening out any inconsistencies in the finishing.
It is paramount if you’re to achieve a more perfect-finish drywall texture.
Ensure you spread the lightweight joint compound in a formula that will remove any problem with the existing texture, so conceal a lousy drywall job.
Remember that you will not sand the surface; therefore, the only option is even out to use the compound.
Remove Dust
While sanding may be a good idea in some situations, it may not be convenient in this case to prevent damaging the top surface of the drywall.
The best option is to take a sponge and press it against the top layer resulting in the accumulation of dust on the sponge and off the wall.
Let Drywall Dry
Once you’re through with the sponge, allow the drywall to dry and settle. Exercise patience during this process and ensure the dry walls are curing perfectly. After a few hours, please touch it to check whether it has dried completely.
Using a Drywall Kit and a Primer
Alternatively, you can use this process for your painted wall too.
With a solution of detergent (trisodium phosphate) plus water, sponge the wall to clean the gloss/ semi-gloss paint to remove dirt and cut grease, as well as the finish and improve paint adhesion.
Chip off any loose drywall compound on seams from which the paper separates with a paint scraper. Puncture bubbles that have formed within the tape using a corner scraper. Pull the separated paper and cut it off, then brush off any dust and lose mud remaining using a dry paintbrush.
Take a drywall primer and spread a coat on all areas that need repair. Spread it on with a roller and wait for it to dry before going to the next step.
Coat the seams from where you had removed the drywall mud and tape using a 4-inch drywall blade. Moisten the surface with water, scrape it flat, and lay the paper drywall tape on the drywall mud. Proceed and spread a second coat of compound on the tape top and grind it flat
If any nails pop out, pull them out and replace them with 11/2 –inch drywall screws passing their heads about 1/16 inch past the drywall surface with a drill, then cover the nail heads with a coat of mud.
Spread a coat of drywall mud on non-uniform seams from which the tape is still intact. Scrape the mud flat with the knife
Allow the first coat of mud to dry overnight, then recoat all the repair areas. Using a 6-inch knife, create a wider seam feathering into the wall. Let it dry, then apply the third coat with an 8-inch knife.
Sand all the repaired areas
Apply texture to the wall to blend with the existing one.
Finally, wait for the texture to dry, then prime the repairs with drywall primer. Once it dries, apply the wall color.
Typically, a coat of primer offers the required adhesion and another before you paint, sealing the repairs and improving the coverage.
Signs of an Improperly Installed Drywall
For any drywall finish, inevitable mistakes are expected but at lower levels. Nonetheless, many flaws which are unacceptable involve:
- Uneven corners
- Crooked panels
- Sagging ceilings
- Rough surfaces
- Visible joints and screw holes
- Visible joints
The next time you encounter a terrible mud job on your drywall, don’t hesitate to fix them using the two methods we have explained in this article. Remember, you can only resolve the mess using a high-quality primer with a light joint compound to clean the surface.