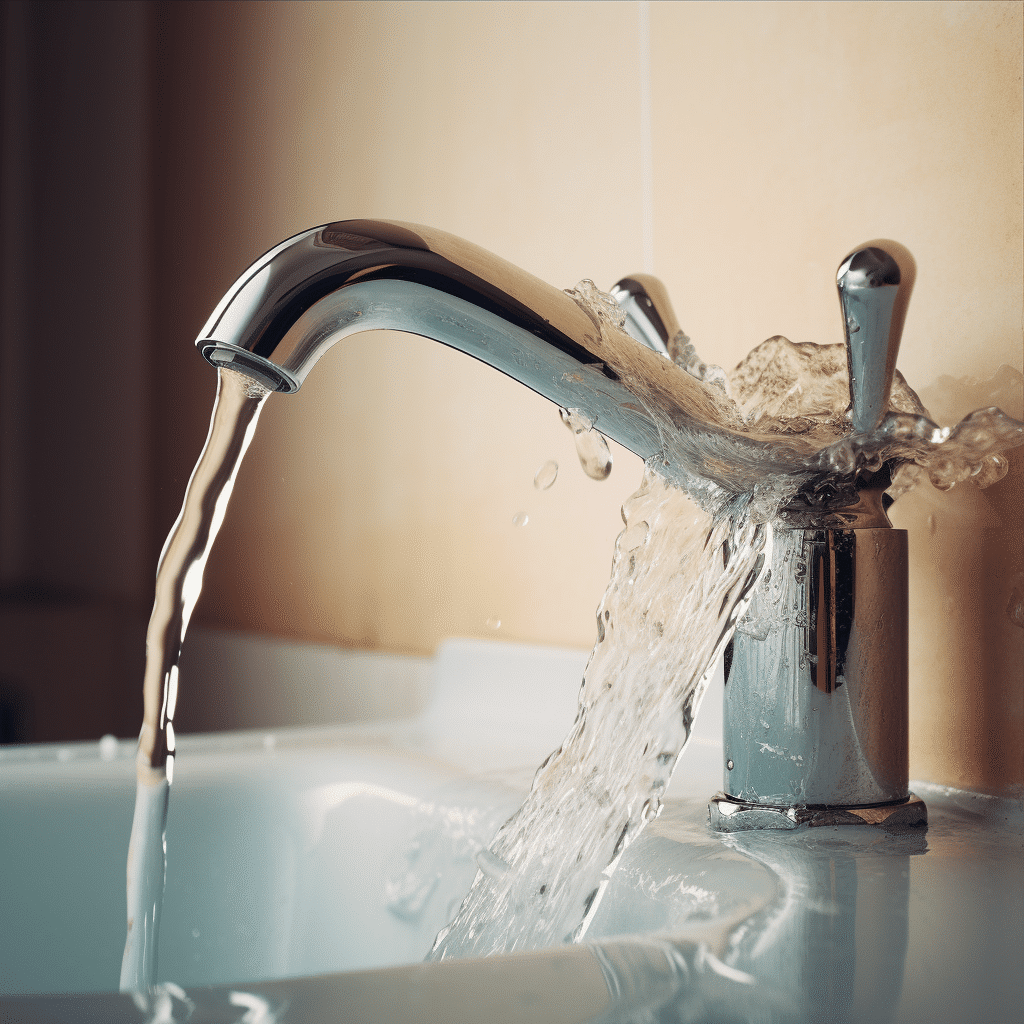
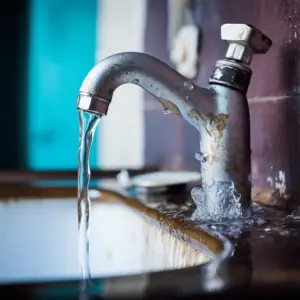
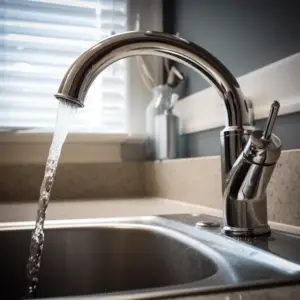
Tired from work, you enter the kitchen. The first thing you hear is a drip-drip-drip. You track the noise – a leaky faucet! Don’t worry, it’s easy to fix.
Leaky faucets waste a lot of water. Fixing them saves money and helps the environment. So let’s get started!
To fix it, turn off the water supply to the faucet. Use a wrench or pliers to remove the decorative cap. Underneath is a screw – loosen and take it out.
Gently pull off the handle. Inside is the valve stem assembly – look carefully. This part differs depending on the type of faucet.
Compression faucets need new O-rings and washers. For cartridge faucets, clear out any debris or mineral buildup.
If these steps don’t help, call a plumber.
Fun fact: Leonardo da Vinci designed devices to prevent leaks and reduce wasted water in Renaissance plumbing!
Table of Contents
Identifying the source of the leak
Identifying the source of a leaky faucet is key. Follow this guide for three simple steps:
- Inspect the faucet. Look for droplets, puddles, rust, or corrosion.
- Check underneath the sink. Look for moisture, dripping water, or loose connections.
- Test with tissue paper. Wrap it around parts while running water to see if it gets absorbed.
Leaks can be due to worn-out seals, valves, O-rings, or cartridges. It’s important to act promptly to avoid costly repairs. Taking immediate action to fix minor leaks reduces water consumption and preserves natural resources. Stop the drip-drip sound – identify and fix those leaks now!
Gathering the necessary tools and materials
Make a list of all the tools and materials for the job:
- Check your toolbox first
- Go to the hardware store if needed
- Don’t forget to get the right sizes of replacement parts
- Also, turn off the water supply before repair
With the right prep and determination, fixing a leaky faucet is easy! That’s what one friend found out. They did it themselves!
Shutting off the water supply
When faced with a leaky faucet, turn off the water supply! Here’s how:
- Find the shut-off valve. It’s usually in the basement or crawl space. Look for a round handle or lever.
- Turn off the main water supply. Use a clockwise motion. This will stop the water from flowing to your faucet.
- Test it. Turn on a nearby faucet to make sure no water is flowing. If there is, double-check and adjust the valve.
- Exercise caution. Wear protective gloves and eyewear.
It’s good to know that some faucets have individual shut-off valves beneath them for easier maintenance.
Fun fact: A leaking faucet can waste up to 3,000 gallons of water per year!
Remember, shutting off the water is the first step in fixing a leaky faucet!
Removing the faucet handle
- Switch off the water supply.
- Search for the shut-off valves below the sink and shut them off.
- Pop off the decorative cap with a flathead screwdriver or a knife.
- Unscrew the handle screw using a Phillips or Allen wrench.
- Grasp the handle and pull it out.
- Peek for hidden screws.
- Once all the screws are gone, carefully detach any parts connected to the faucet handle like escutcheons or trim plates.
It is necessary to recognize the faucet type. This can make the process simpler. Try these tips if the handle is hard to remove:
- Apply some lubricant like WD-40 to reduce friction.
- Do not use too much force when taking off the handle or components as this could damage the faucet system.
It is important to follow the instructions for your particular faucet model.
Inspecting and replacing the faucet cartridge or washer
- Turn off the water supply from the shut-off valves under the sink.
- Use a screwdriver or Allen wrench to remove the faucet handle screws and lift off the handle.
- Inspect the cartridge or washer for cracks or mineral buildup and replace faulty parts with new ones.
- Clean the valve seat and O-rings using a soft cloth or an old toothbrush.
- Reattach any screws and firmly tighten them.
- Place the handle back.
- Turn on the shut-off valves to restore water flow.
- Test the faucet for leaks.
Regular maintenance is essential to extend the faucet’s lifespan. Newer faucets may feature ceramic disc cartridges and require proper tightening without over-tightening. Plumber’s tape during reassembly can provide an extra layer of sealant. Clean the valve seat and O-rings to prevent mineral buildup. Follow these steps and you can fix a leaky faucet without professional help.
Reassembling the faucet
Steps:
- Gather all the parts removed from the disassembly.
- Lay them out in order.
- Connect the faucet’s components using your diagram or notes as reference.
- Tighten connections securely, but not too much.
- Turn on the water supply slowly and check for leaks.
- If none, you’re done!
Each faucet may have specific instructions, so refer to the manufacturer’s manual. Be aware of small details such as washers, gaskets, and O-rings which may need replacing if worn out.
Fascinatingly, faucets have been around for thousands of years. Ancient Greeks and Romans used water flow mechanisms in homes and public buildings. Over time, these faucets have evolved to modern-day fixtures.
Testing for leaks
Checking for leaks? Follow these steps!
- Turn off water supply.
- Inspect base for any signs of moisture.
- Try the dry paper towel test – leave it under the faucet for a few hours. If it gets wet, you got a leak.
- Also check your water meter. Compare readings before and after a set time to see if water usage increased – meaning a possible leak.
My neighbor had a high bill. They followed the steps and found a small but persistent leak in their bathroom faucet. Promptly fixing it saved water and money on future bills.
Troubleshooting common issues
Leaky faucets can be a major source of irritation and water wastage. Here are some common problems that need solving:
- Loose faucet handles: Tighten the screws or nuts on the handle.
- Worn-out O-rings: Replace the O-rings inside the faucet.
- Corroded valve seat: Clean or replace the valve seat.
- Faulty cartridge or ceramic disc: Replace these components.
- Water pressure problems: Check pressure and adjust as needed.
If corrosion is visible, it’s important to clean right away. Ignoring this can cause more serious issues in the long haul.
Did you know the ancient Romans had a plumbing system that used gravity-powered aqueducts? Though not the same as modern faucets, they still had to fix leaks.
Solving a leaky faucet saves annoyance and water. So, take care of common issues and enjoy a drip-free environment!
Conclusion
Time to finish our journey of fixing a leaky faucet! Let’s quickly go over the main points and tips for success.
- Leaky faucets can waste water, so it’s good to fix them quickly.
- First, turn off the water supply to avoid any damage.
- Check each part for wear or damage and replace any faulty ones.
- Lubricate all moving parts before reassembly.
- Turn on the water and test for leaks, then adjust if needed.
- Periodic maintenance can help prevent future leaks.
It’s also important to know the type of faucet you have. Learn about its design for a successful fix.
Interesting fact: Ancient Romans used lead pipes for their plumbing! Lead pipes are no longer used due to health reasons. This shows how early civilizations solved water problems.
There you have it: all the info you need to fix a leaky faucet like a pro!
Frequently Asked Questions
1. How do I know if my faucet is leaking?
Signs of a leaking faucet include a constant dripping sound, water pooling around the base, or an increase in your water bill. To confirm, check for visible water or moisture around the faucet.
2. Can I fix a leaky faucet on my own?
Yes, you can fix a leaky faucet on your own in most cases. The complexity of the repair may vary depending on the type of faucet, but many common leaks can be resolved with basic tools and some plumbing knowledge.
3. What are the common causes of faucet leaks?
The most common causes of faucet leaks are worn-out or damaged internal parts such as washers, O-rings, or cartridges. These parts can deteriorate over time due to frequent use, mineral deposits, or high water pressure.
4. How do I fix a dripping faucet?
To fix a dripping faucet, start by turning off the water supply to the faucet. Then, disassemble the faucet following the manufacturer’s instructions, replace any damaged parts, and reassemble it. Make sure to tighten all connections properly.
5. What should I do if I can’t stop the faucet from leaking?
If you’ve attempted to fix a leaky faucet but it still continues to leak, it may be best to consult a professional plumber. They have the experience and expertise to handle more complex repairs or replace faulty components if needed.
6. How can I prevent faucet leaks in the future?
To prevent faucet leaks, avoid turning the handles too tightly when operating the faucet. Regularly clean and maintain your faucet to prevent mineral buildup. Additionally, be cautious when using excessive force while operating the faucet, as it can cause damage to internal parts.