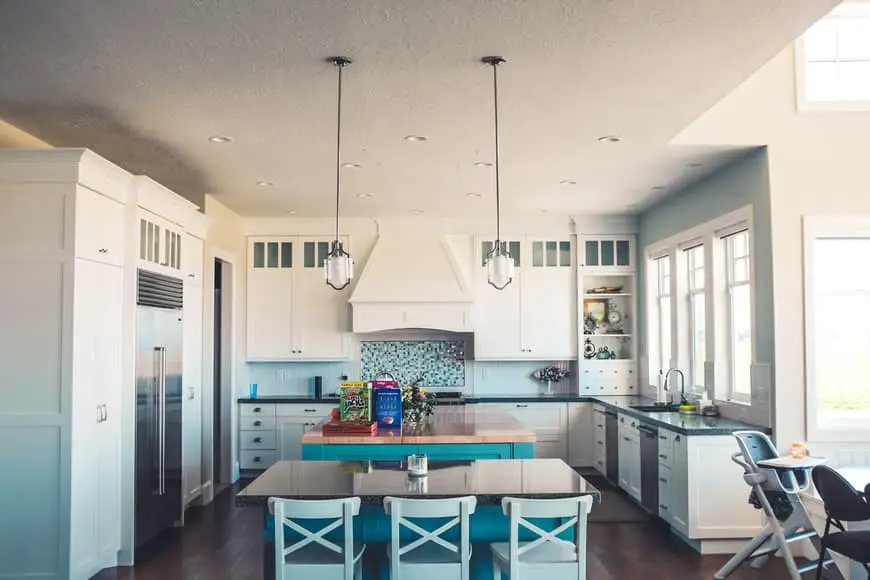
Textured Ceilings, Perhaps there’s nothing more universally loathed than a strangely textured ceiling. So if you caught yourself staring upward, wondering how to get rid of a textured ceiling, you are not alone.
In fact, textured ceilings gained popularity in the mid-to-late 20th century when builders installed them as a treatment to help absorb sound from above, or cover up imperfections in the ceiling.
They also helped skip some steps and save money because they’re cheaper and easier to install compared to smooth plaster skims. In the modern world, however, textured ceilings have fallen out of favor and many homeowners are looking for ways to remove the unsightly surface.
Table of Contents
How To Get Rid Of Textured Ceiling: Step by Step Guide
But there’s a problem; knowing how to do it can be tricky, with plenty of conflict advice flying around. So, what goes into textured ceiling removal? Let’s dive in!
Prepare the Room
You need to prepare for a big mess. This might take a bit of time but it’s all worth it in the end. If you have carpet, cover it with plastic drop cloths as well as any openings that you don’t wish dust to escape from. Remove the light fixture, air vents, and such, and cover those openings too.
Scrapping the ceiling can be messy enough. So you need to protect the walls, the floors and yourself. Have plenty of drop cloths and tarps on hand.
Draw out the furniture from the room and cover floors and walls with the stated plastic sheeting. Be sure to cover electrical boxes with painter’s tape to prevent the wires from being damaged. Just turn off your HVAC system and close and cover all the vents and electrical outlets with plastic.
You might think it’s easier to leave the ceiling fans and light fixtures in place and figure out how to get rid of the textured ceiling, but they’ll just be in your way and get covered with grime. Plus, you don’t want to accidentally mess up with your electric fixtures.
A good tip, though; if you’re planning on replacing the floors at the same time, you don’t really have to worry about covering them.
Simply remove the texture from the ceiling and then roll up the carpet with the mess on it and haul it out. The mess will be cleaned and the floors will be ready for replacement.
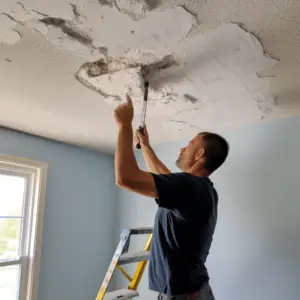
Scrape the Big Peaks
Scrap all the obvious peaks off using the floor scraper. You can easily get away with using a putty knife for this DIY job, but if you have to cut through all of the paint, a sharper blade might be necessary.
Avoid digging too hard into the compound or paint. Remember you don’t have to remove all of it with this step, just the peaks. On the off chance that you create a gouge with the scrapper, fret not because we’ll fix that below. But the less the gouges, the less amount of time it’ll take.
The point here is to prevent the sharp peaks from shredding the sandpaper, which you’re going to use in the next step.
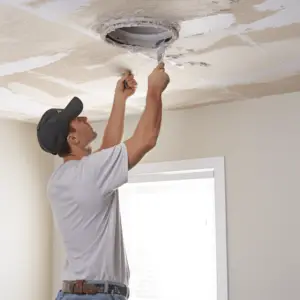
Sand Away the Remaining Compound
Using grit sandpaper, or the drywall sander, sand away the remaining paint/compound working in small sections. Consider swapping out a fresh sheet of sandpaper when you notice the current one is becoming less effective.
When the drywall starts to appear under the joint compound, stop sanding and proceed to the next section. Otherwise, if you aren’t careful, the coarser grit sandpaper can easily tear up the paper layer of your drywall. It might be okay to have spots with just a very thin layer of compound left rather than tearing up the drywall.
Once you’re done with the entire ceiling, go back over all of it with fine-grit sandpaper, getting rid of any remaining joint compound. Do not strive to completely remove the compound along the seams where the drywall pieces meet or where they filled in the holes of any screws/nails.
This should be pretty easy to spot because there will be a long line of paint/compound that is flush with the drywall. Using a spray bottle and putty knife, scrape about ½” of the entire edge of the ceiling next to the crown molding. This is because a sander probably won’t reach there.
Use a putty knife to fill in any gouges or nicks with joint compound and leave to dry completely. Once the compound has dried completely, sand down those specific areas using a sanding block.
Lastly, wipe down the ceiling with a damp cloth to get rid of any dust and clean up your mess. Now it’s time to paint. You may want to paint all of your ceilings after removing the texture.
Popcorn Ceiling Removal
For easier scrapping and rather no dust popcorn ceiling removal, consider using a garden pump sprayer to mist the ceiling and leave it to soak for about 15 minutes before scraping.
Note that you just need to give it a light misting as too much water could damage the drywall or loosen the joint tape. In the event that the texture hasn’t softened after 15 minutes or so, spray it again and give it another 10 minutes.
If the texture hasn’t softened yet, it might be painted or the paint might have been mixed into the texture before application. In both cases, water won’t easily penetrate.
For a painted texture, you can dry-scrap it first to expose some of the unpainted texture and then follow up with wet scraping. However, if the texture has paint mixed in it, you might have to dry-scrape the entire ceiling or simply cover it with drywall.
Consider Doing a Scrape Test
It’s important to try scrapping a small area while learning how to get rid of textured ceilings. Try it dry first, then wet the texture with water and try again. Some textures come off effectively without water, but in other cases, wetting might be necessary.
In case the water doesn’t soak in and soften the texture, the ceiling has probably been painted or the paint was added to the texture mix.
If that’s the case, wetting the ceiling may not help. You will have to decide whether you want to undertake a more involving scraping job or choose another way to conceal your unsightly ceiling.