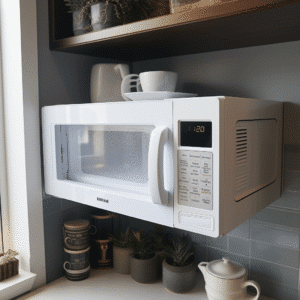
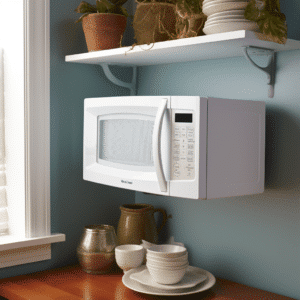
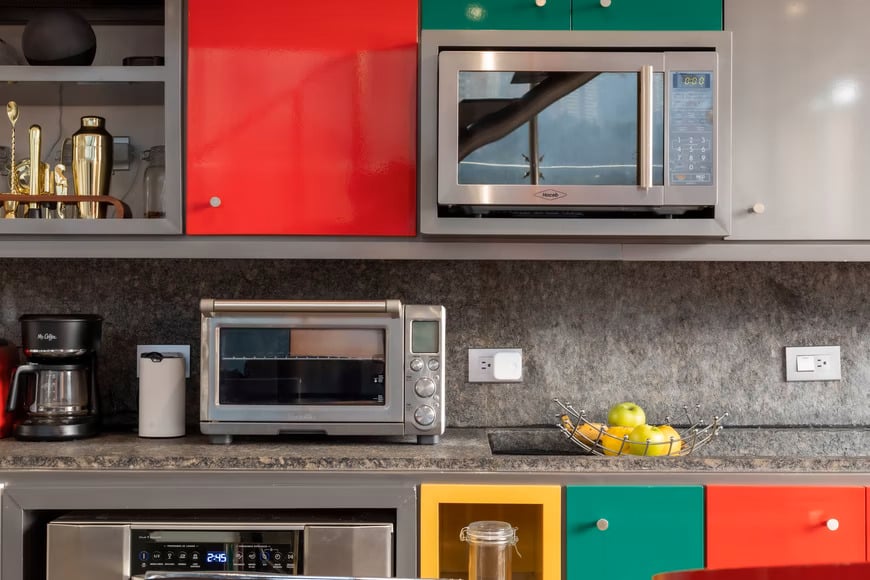
Venting Microwave on Interior Wall, There are two common ways to install a microwave: either above an existing range or on an interior wall. The latter option is the cheaper option, but it requires a little more work to get everything right.
Table of Contents
Here’s how to go about it:

If you can connect the microwave to the existing ductwork in your home, great. But if not, you’ll need to install a new set of ducts, and it’s likely that you will need to make a new vent hole in your exterior wall.
If you are comfortable working with your home’s ductwork and don’t mind poking a couple of holes in walls, then venting a microwave on an interior wall is something that you can do yourself. You may need to call a professional if you are unsure of what you’re doing or don’t want to make holes in your walls. In some cases, professionals can even help with the installation itself.
The most common problem with venting a microwave is the improper installation of ducts and vents. When installing a ducted system, you must make sure the duct is sealed properly at all joints and seams. Also, check that there aren’t any leaks in the ducts themselves.
In this post, we’ll show you how to vent a microwave on an interior wall. This project is for homeowners who like to do things themselves, and it’s much easier than you might think. But first;
Why Vent a Microwave?
Microwaves require venting, whether they are installed in an interior wall or not.
Your microwave, when it’s working, heats up the air molecules inside and causes them to rush out of the tiny vents on the back of the microwave unit. When they don’t have a place to go, they will get caught inside and make your kitchen smell awful.
A vented microwave keeps your kitchen from becoming a stinky mess, prevents smoke from filling the air every time you cook, and protects your cabinets by removing excess moisture and the buildup of nasty grease around your kitchen.
Venting a microwave is also important for safety. If you don’t vent the appliance and there’s a fire, the flames could shoot out of the vent hole and spread throughout your home.
To prevent burning someone’s face off, you should install a microwave vent.
How to Vent a Microwave on An Interior Wall

Now that you know the importance of venting a microwave, let’s talk about how to do it.
First, make sure that you have the right tools on hand before you begin. You’ll need:
- a driller
- a flashlight
- some screws
- screwdriver
- a pencil
- measuring tape
- an exhaust adapter, and
- a jigsaw
The process is simple, but there are some things that you should keep in mind before you get started. First, make sure that your wall is strong enough to support the weight of the vent system and all of its parts. You don’t want your microwave falling over from poor installation or lack of attention to detail!
Now, let’s take a look at how to vent a microwave. It’s really straightforward and doesn’t require much effort on your part. To make things easier, it’s important to make sure that all the holes you drill and the cuts you make in your cabinet line up correctly. A vent template can help you achieve a professional-looking installation on the first try.
Step#1: Figure out where you want to place your microwave and how it will fit. Be sure that this location has enough space for your vent system and any other components. You should not make too many twists or turns in your ductwork, as this can restrict airflow. It is better to have straight ducts than ones with lots of bends.
Step#2: After deciding, do the template on your wall to figure out where you should install your vent. Make sure that the air from your microwave blower will be able to flow into this new opening.
Step#3: Use the driller to create holes where you can place your templates. Then, drill holes into the wall where you plan to mount your microwave’s bracket.
Step#4: For the next step, you may need help mounting your microwave because it may be heavy.
Step#5: Mount your microwave to a wall so that the entire appliance is flush against it. Make sure that all four bolts are firmly in place and that no part of the power cord hangs loose.
Step#6: The final step is to attach the exhaust adapter to your microwave. And lastly, test your vent to make sure it’s working properly. Place your hand over the vent, and feel for air movement. If you can feel air coming from under your cabinet, then it’s working correctly.
Depending on your home’s layout and the type of microwave you own, the general guidelines should apply to most microwaves.
If you are installing new ductwork for a microwave, make sure you’re using ductwork of the correct size for your fan. The most common sizes are 6-inch and 4-inch (4-inch wide ductwork is ideal for any vented microwave). Also, please note that the fewer ducts that run from your microwave to the outside vent, the better airflow will be within those ducts.
If you need to vent a microwave on an interior wall, it’s a good idea to get the appropriate size ductwork before you start. You don’t want to end up with a vent that’s too small or too large. This will make the fan work harder to ventilate your kitchen and could cause it to break down more quickly.
Conclusion
You shouldn’t have to call a specialist in for every appliance you install, so long as you follow the steps we’ve outlined in this guide. While simply copying the existing vents already on your wall is safe, it may not be the most effective way to make your microwave more efficient.
Venting a microwave to an interior wall is really not that hard. But it will take a little skill, some do-it-yourself knowledge, and a good attitude.


